How to Cut Wallpaper
Cutting wallpaper might seem intimidating at first, but with a little know-how, it’s easier than you think. Whether you're a DIY enthusiast or tackling wallpaper for the first time, with the right tools, techniques, and a touch of confidence, you’ll be making clean, precise cuts in no time.
At Hovia, we believe transforming your space should be as enjoyable as it is rewarding. That’s why we’ve created this step-by-step wallpaper cutting guide, to empower you with the knowledge and confidence to handle every cut with ease.
Wallpaper cutting tools
Before you start, make sure you have the right tools on hand. Having everything ready will make the installation process smoother and help you achieve the best results. Here’s what you’ll need:
Sharp Utility Knife or Wallpaper Cutter: A fresh blade ensures smooth, tear-free cuts
Straight Edge or Ruler: Precision is key, so a metal ruler or straight edge is a must
Pencil and Measuring Tape: For marking guidelines before you make any cuts
Smoother or seam roller. A wallpaper smoother tool to flatten down the seams and remove any bubbles. A seam roller is used for this, as well as double cutting wallpaper
Scissors: For smaller, detailed cuts such as around sockets or switches
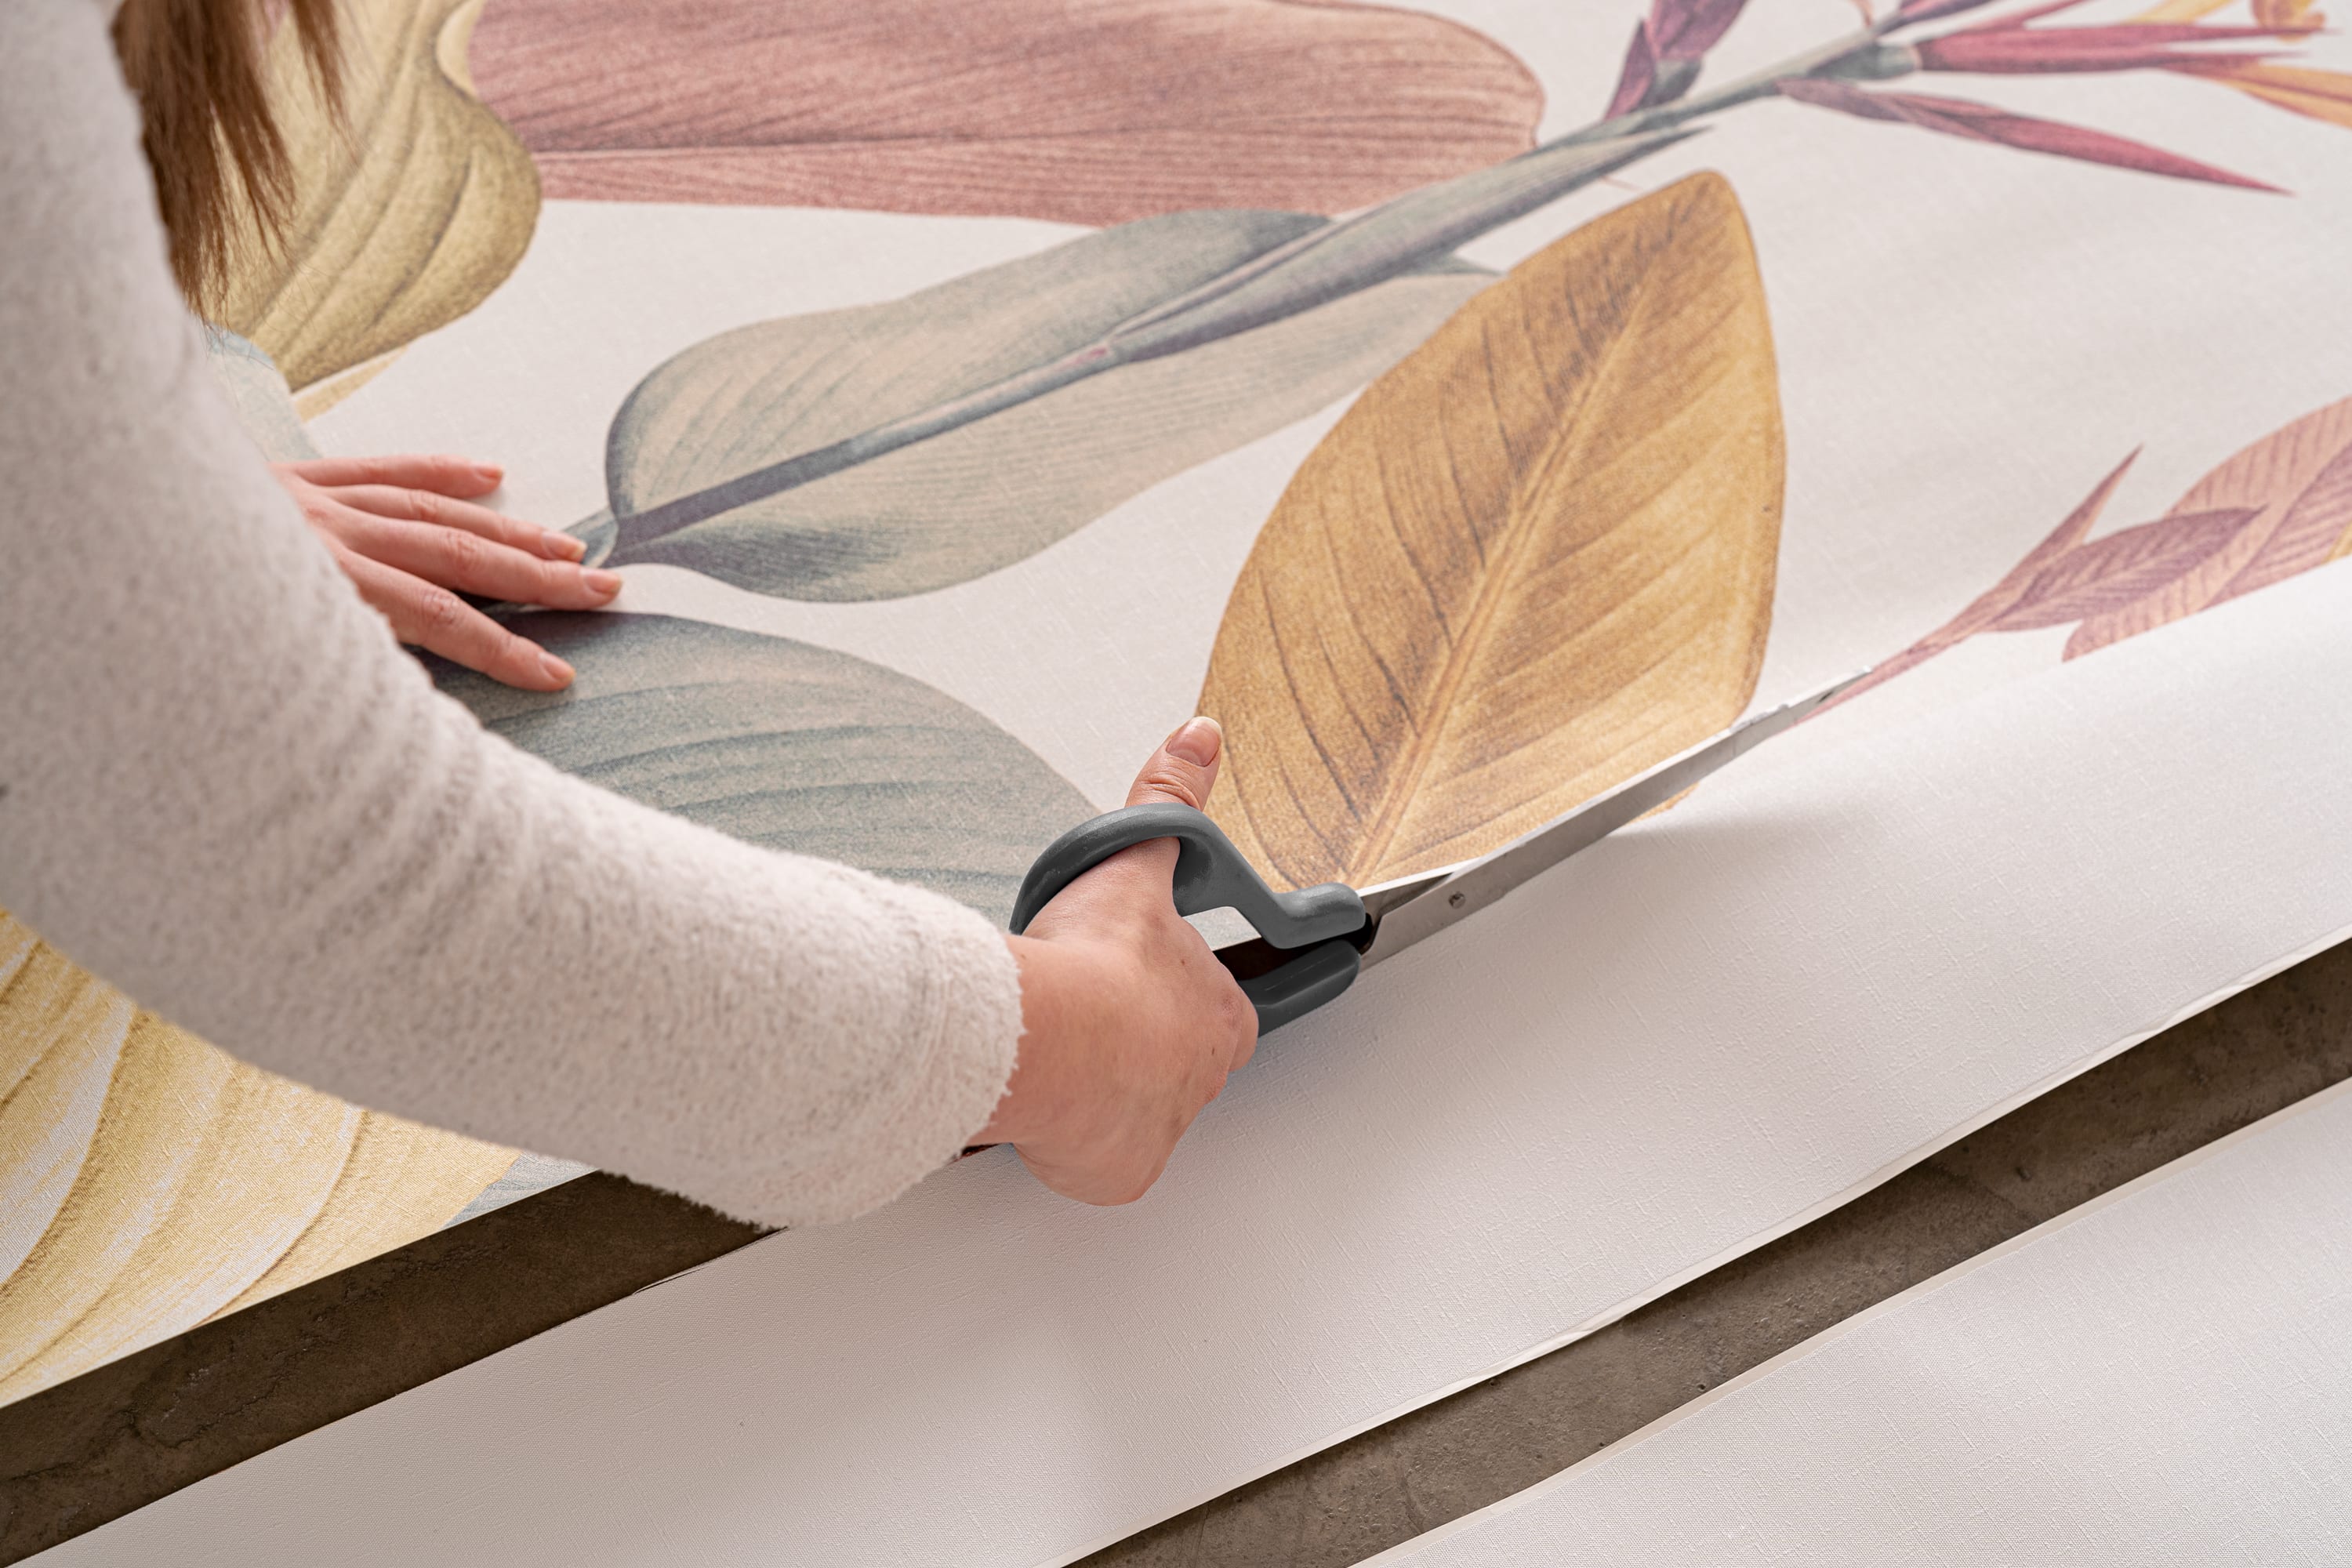
How to cut wallpaper
Begin by laying your wallpaper panels flat on a clean, dry surface. If the design requires edge trimming, carefully follow the manufacturer’s instructions to ensure a precise fit. This step helps align patterns correctly.
Trim away excess paper
Once your panel is in placed on the wall, it’s important to trim any excess at the top, bottom, or both to achieve a neat, professional looking finish. Here’s how to do it:
Press the paper down into the top of the skirting board, forming a crease where you’ll make your cut.
Press your straight edge into the crease, pressing down against the skirting board. This will guide your blade as you cut, to make sure it’s straight. If your straight edge tool isn’t thin enough to allow you to cut sloe to the skirting board, use a thin metal ruler instead, or any alternative.
Take your sharp craft knife and run it carefully along the bottom of the wall while you hold the straight edge firmly in place. Keep the straight edge held steady as you move it along the wall, cutting bit by bit. Don’t press down too hard with the knife or you could tear the paper - if the blade is sharp, it should glide along nicely.

Avoid using a dull blade, as this can snag or tear the wallpaper. Some craft knives are designed with snap-off blades, allowing you to break off a fresh, sharp section - it’s a good idea to do this every couple of panels if needed to keep your cuts clean and precise.
If your wall has an irregular shape like a slope, or your wallpaper has a drop-match pattern, then you may need to trim some paper off the top. To do this, just follow the same method as above, but cut it in the same way that you cut at the bottom
Tip: If you’ve used a lot of paste, let the paper dry before trimming to avoid rips.
How to cut wallpaper around obstacles and fixtures
How to cut wallpaper on a ceiling
Cutting wallpaper on the ceiling poses a bit more of a physical challenge than cutting on a wall, since you’ll be in a more awkward position.
Make sure you take all the necessary precautions to keep yourself safe, for example, if you find it difficult to stand on a ladder, you could use scaffolding instead. And when you’re trimming your paper edges, lean forwards slightly to do it instead of standing directly under where you’re cutting - you don’t want to risk dropping the knife on yourself.
The process for cutting wallpaper on the ceiling is exactly the same as cutting it on a wall. Simply trim all the edges using the same method outlined above.
How to cut wallpaper in corners
Inside corners
Stick and smooth down the paper into the corner where the two walls meet.
Press your straight edge or metal ruler into the corner
Take your craft knife and cut along the straight edge into the corner where your wall ends. If you notice any paper still sticks out or overlaps onto the next wall, go back with the straight edge and knife again to clean things up
Outside corners
Make sure the paper is stuck down and smoothed out properly right to the edge of the wall.
Hold the straight edge right up to the very end of the wall.
Using your craft knife, gently cut the excess paper against the straight edge downwards. Once you’re done, if you notice any straggling bits of paper or parts where there’s an unclean cut, simply go back in with the straight edge and knife
Cutting wallpaper around obstacles
For more detailed instructions on installing wallpaper around obstacles, you can find more comprehensive guides in our DIY section including wallpapering around sockets and switches, how to wallpaper a ceiling, how to wallpaper around a window and much more!
Around sockets and switches
Before cutting around sockets or light switches, make sure the power is completely switched off
Hang the wallpaper as normal until you reach the obstacle, letting it hang loosely over it
Lightly mark the corners of the socket or switch with a pencil, then poke a small hole in the center
Cut from the center out toward each corner to create flaps, then fold these back and smooth the paper around the obstacle
Draw around the edges of the obstacle, lift the wallpaper slightly, and trim just outside your lines
Unscrew the cover, tuck the excess wallpaper underneath, press it flat against the wall, and screw the cover back in place
Around door and window frames
When hanging a wallpaper panel that overlaps a door or window frame, start at the top of the wall and work down to the frame—or begin from the left edge, aligning with the previous panel’s seam if that makes pattern matching easier. Smooth the wallpaper into the top or side of the frame, depending on your hanging direction
Then, using a sharp knife and straight edge, trim along the edge of the frame, stopping at the corner
Smooth the remaining section into place and trim as before. Repeat this process with each panel until complete
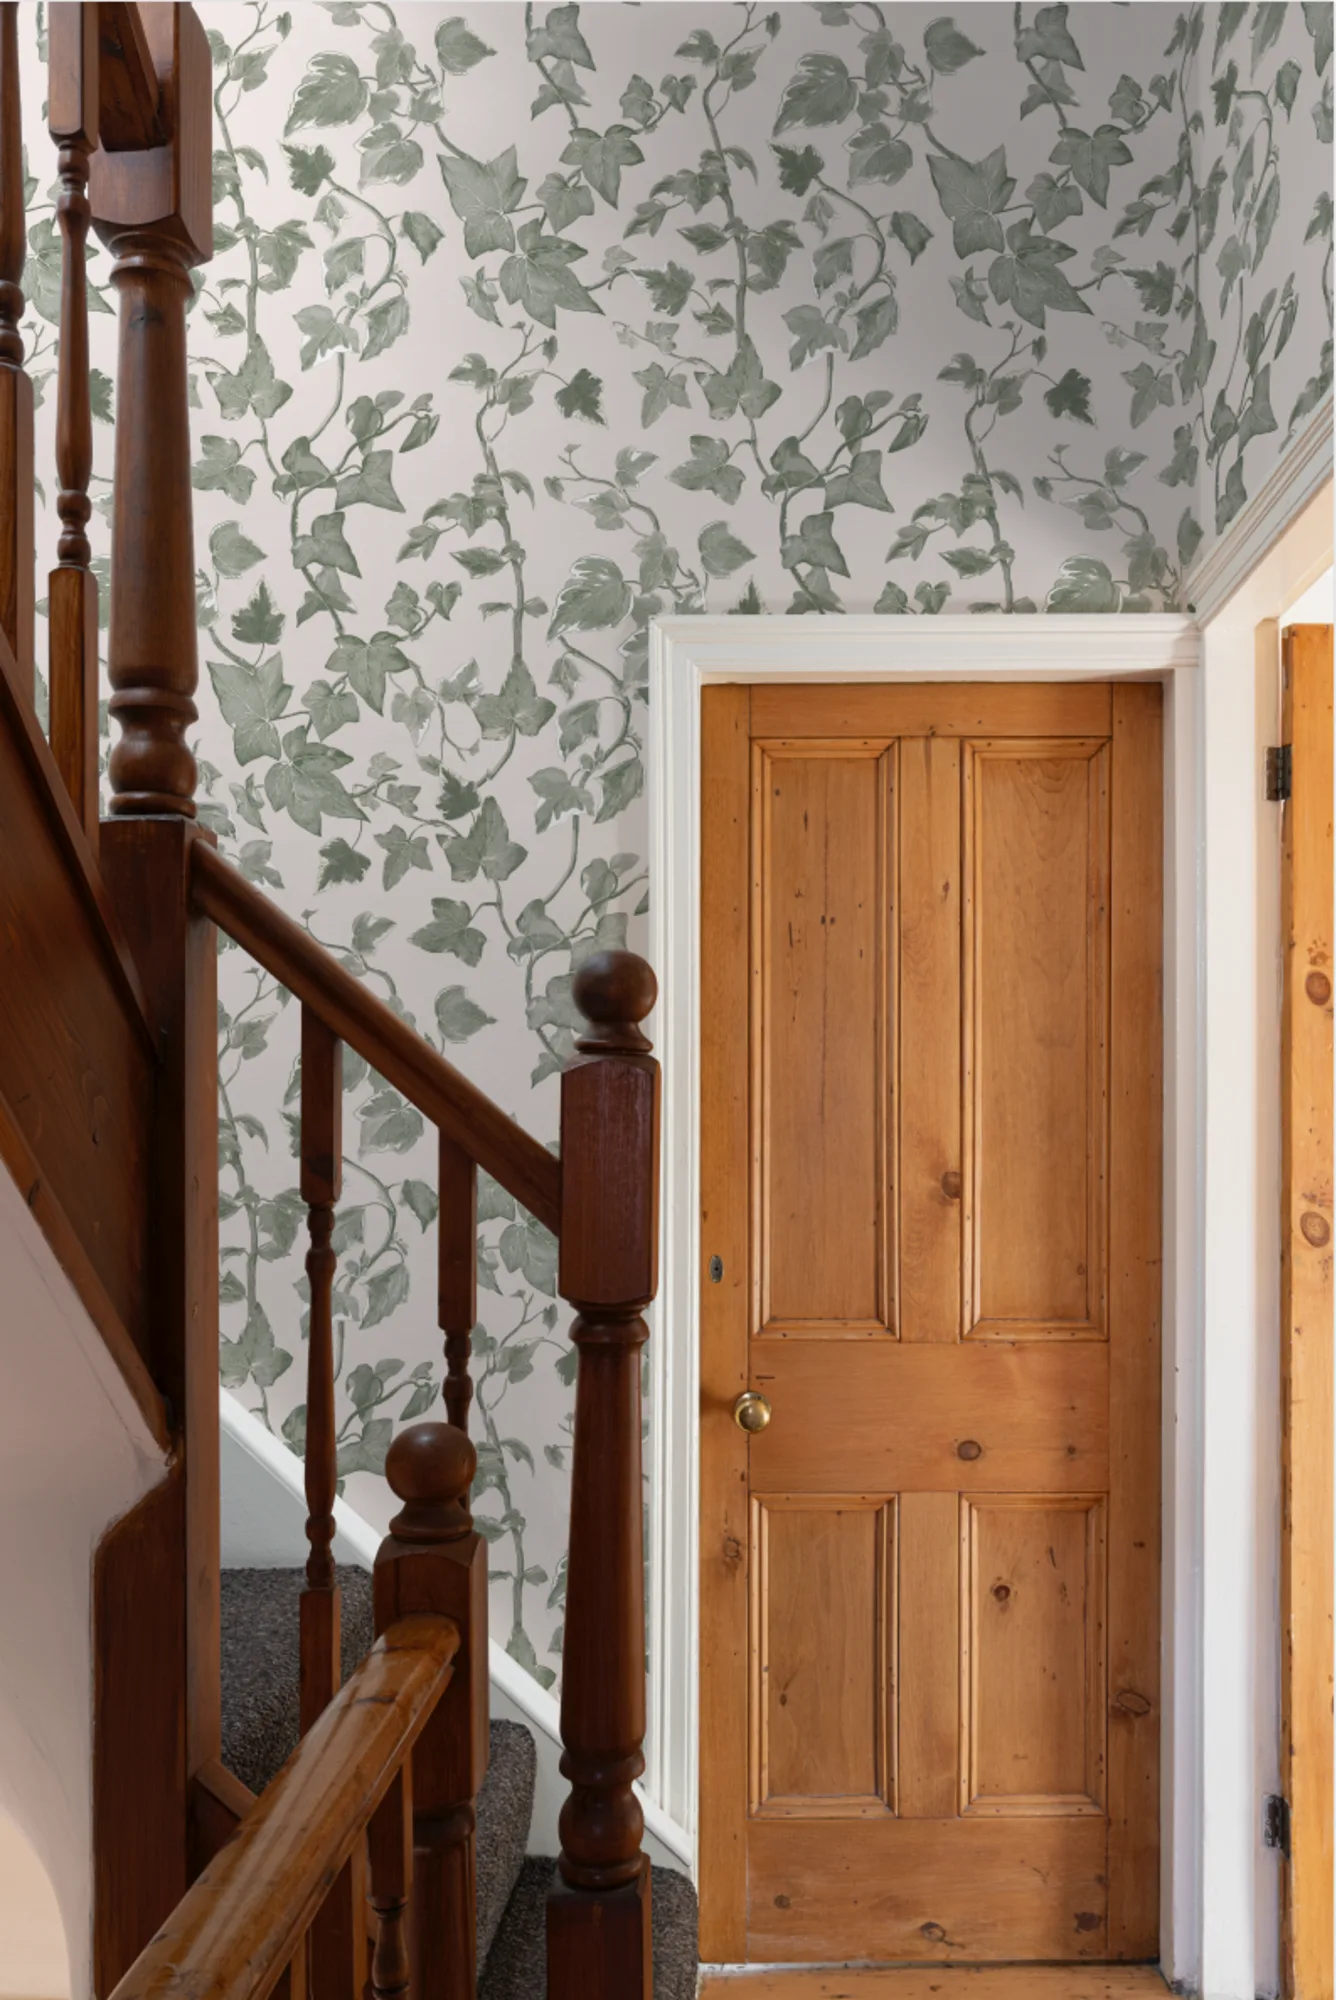
White Heritage Ivy Wallpaper
Now, you’re ready to cut wallpaper like a pro! Ready to get started? Browse our selection of wallpapers and wall murals to find the perfect design.
If you have any questions, feel free to reach out to us at [email protected]. Or, if you’re looking for some more helpful guides, head over to our DIY section where you can find a range of guides to help with your next decorating project.