How to Wallpaper a Ceiling
You might have already seen our handy wallpaper hanging guide but here, we get down to the brass tacks of something specific: how to wallpaper a ceiling like a seasoned professional.
Wallpapering a ceiling is no mean feat, granted, but it doesn’t have to be scary with our simple step-by-step guide in your (digital) back pocket.
So, keep scrolling to transform yourself into a total pro when it comes to turning your ceiling into your very own wallpapered Sistine Chapel.
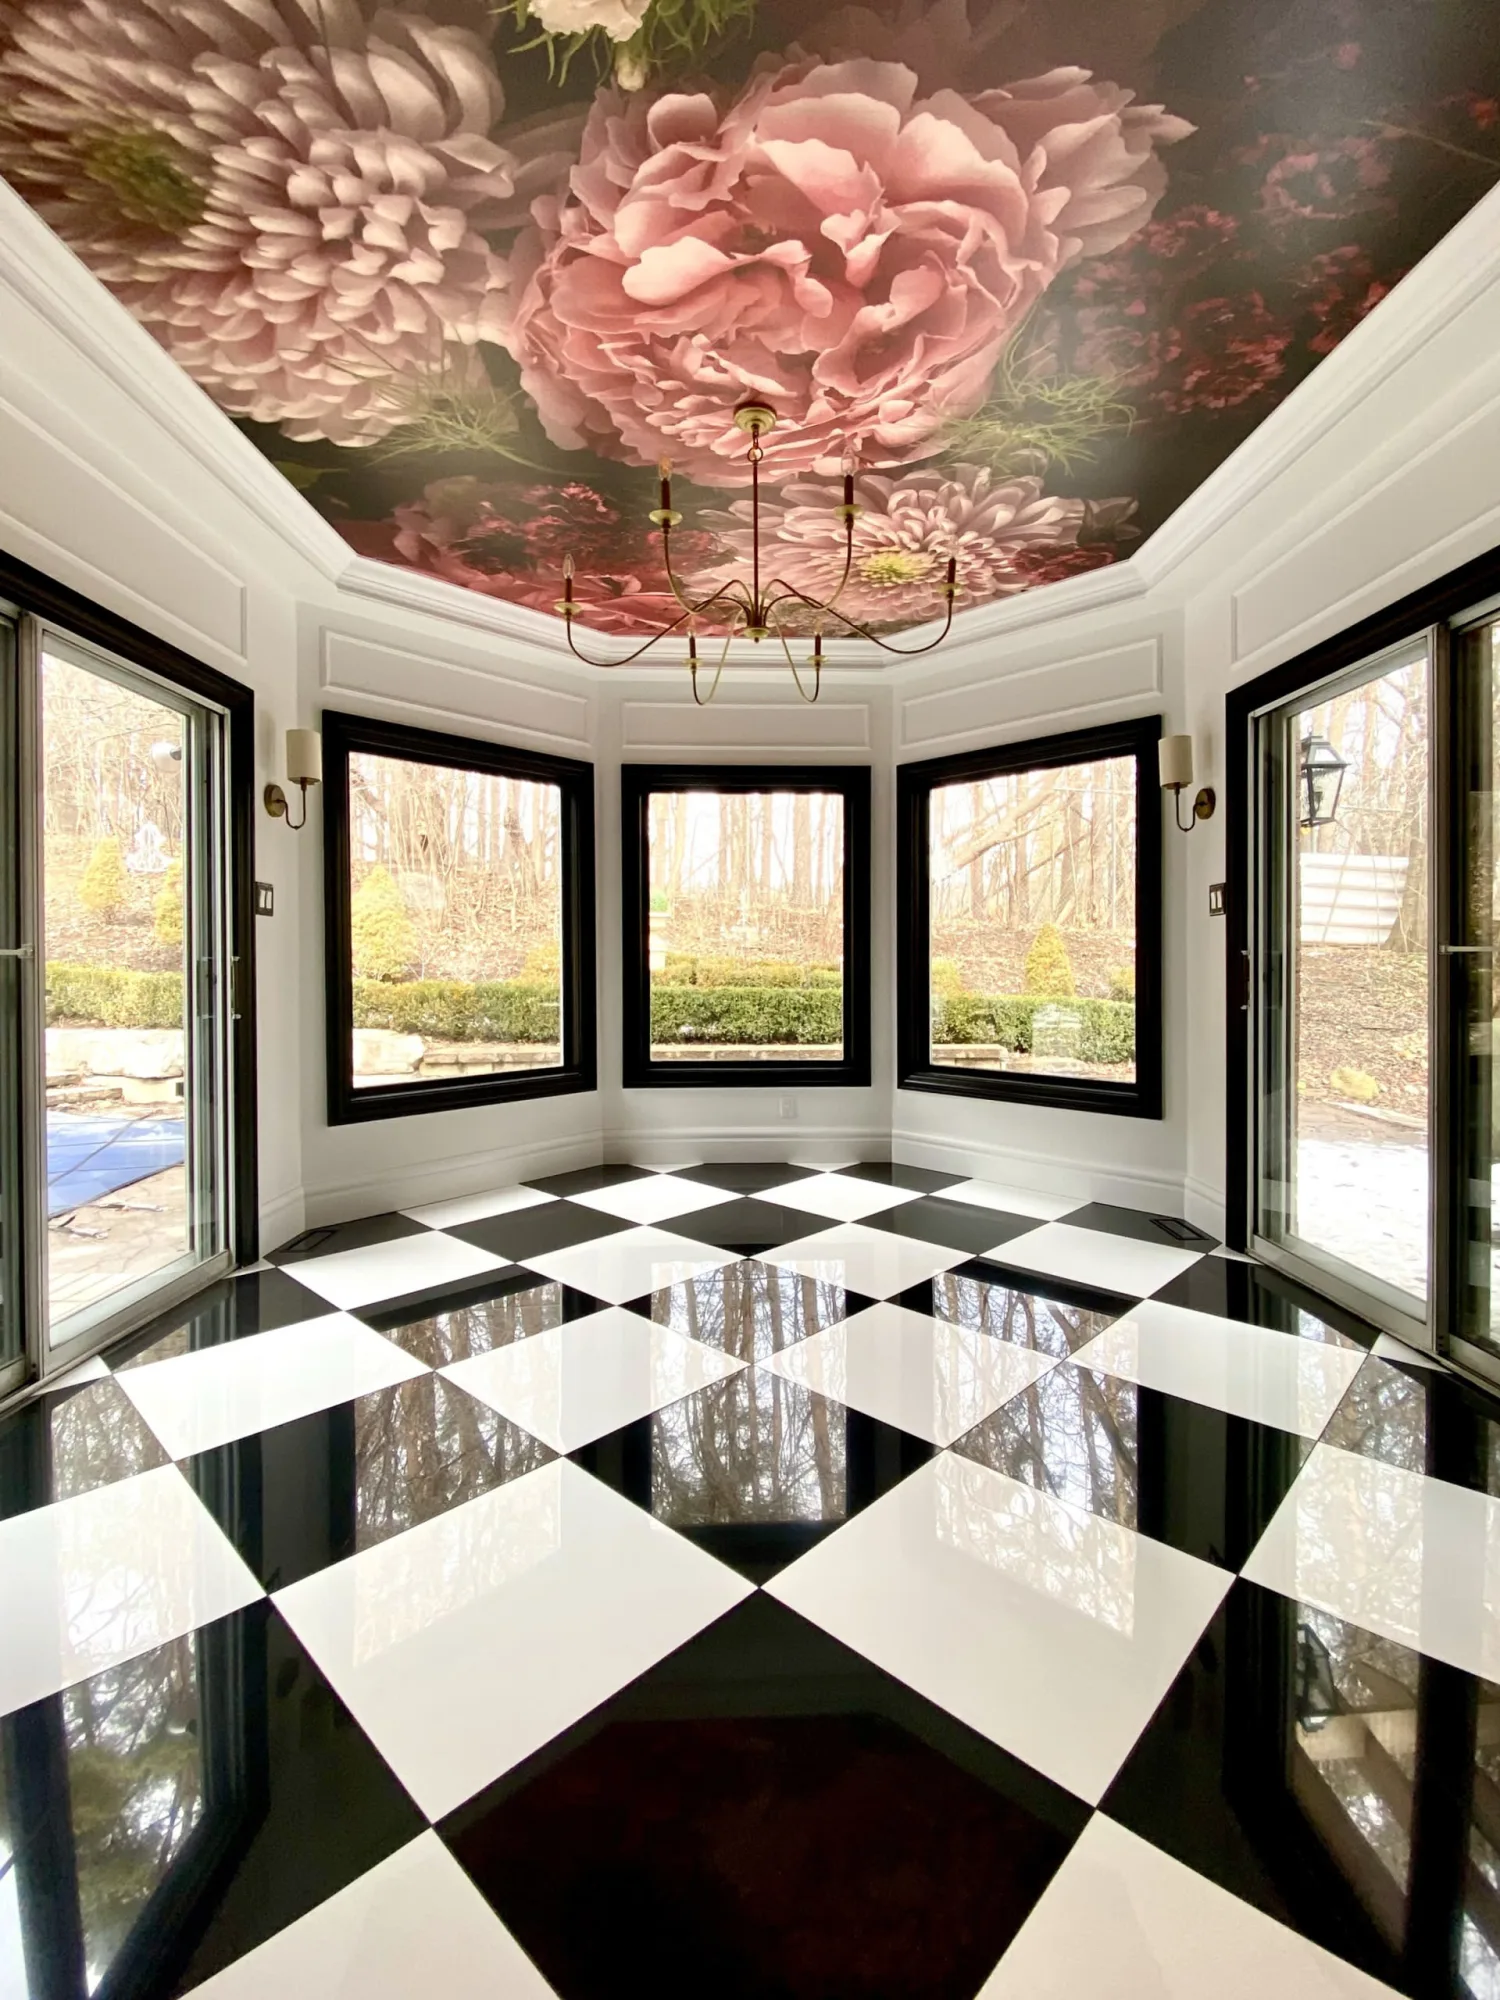
Image credit - gabe.style
Everything you need to wallpaper a ceiling
The first thing you need to do is make sure you have all the necessary tools at hand.
The last thing you want is to prepare your first piece of wallpaper, paste the wall, and then realize you've forgotten a roller or wallpaper smoother.
Check off these must-haves on your to-do list before you even think about approaching the ceiling:
• Your wallpaper (with some extra material — we recommend about 10% more than your measurements indicate)
• Wallpaper paste, bucket, and paste brush/roller (unless you're using self-adhesive wallpaper)
• Wallpapering table/sawhorses (optional)
• Dust sheets to protect the floor and furniture
• A sharp utility knife (Stanley knife or similar)
• Tall ladder and/or scaffolding
• Ruler/measuring tape
• A plumb bob
• Two drawing pins
• Pencil
• Wallpaper smoother
• A damp cleaning cloth
• Bucket of clean water
• Seam roller (optional)
Got everything together? Great, then you're ready to get started.
Get yourself and your ceiling prepped and ready
There are a number of steps you need to take before you put paper to paste and they’re all part and parcel of good preparation.
So, here’s what you need to do:
Prepare the ceiling for wallpapering
For a professional finish, you need to prepare the surface of your ceiling before doing anything else to it:
• Make sure any previous wallpaper and wallpaper paste have been thoroughly removed. Find more tips and tricks on how to remove wallpaper from a ceiling at the end of this blog post.
• Fill in any gaps or cracks and make sure they’re sanded down smoothly.
• Clean the ceiling and surrounding area to remove any dust or debris before you begin the wallpapering process.
Consider the type of wallpaper you want to use
The type of wallpaper you choose will impact the tools you need to hand and some of the steps you need to take. Peel-and-stick wallpaper, for example, is self-adhesive and therefore won’t require wallpaper paste or any of the associated accessories.
Paste-to-the-wall paper or traditional wallpaper is often the preferred option for ceilings. This is mainly because using paste gives you a little wiggle room for adjustment, as opposed to peel-and-stick wallpaper which adheres in place instantly.
So if you don’t hang it precisely how you want it on the first go, you have a few seconds to shuffle it around and remove any air bubbles before the paste dries. This gives added time and flexibility, which is invaluable when wallpapering tricky areas.
Where patterned paper and wall murals are concerned, you need to ensure that you’re measurements are accurate. If your measurements are out, it could cause the artwork to be misaligned and messy-looking.
Top personal safety tips
Before you even unwrap your wallpaper, the first thing you need to do is prep the surface it’s being adhered to thoroughly:
To protect yourself during the process, heed the following advice:
• Consider using solid scaffolding instead of a wobbly old ladder.
• Have somebody on hand to help you, or even a couple of willing volunteers.
• Wear protective clothing and safety goggles in case debris drops from the ceiling.
• Wallpaper during the daytime so there’s plenty of natural light to work in.
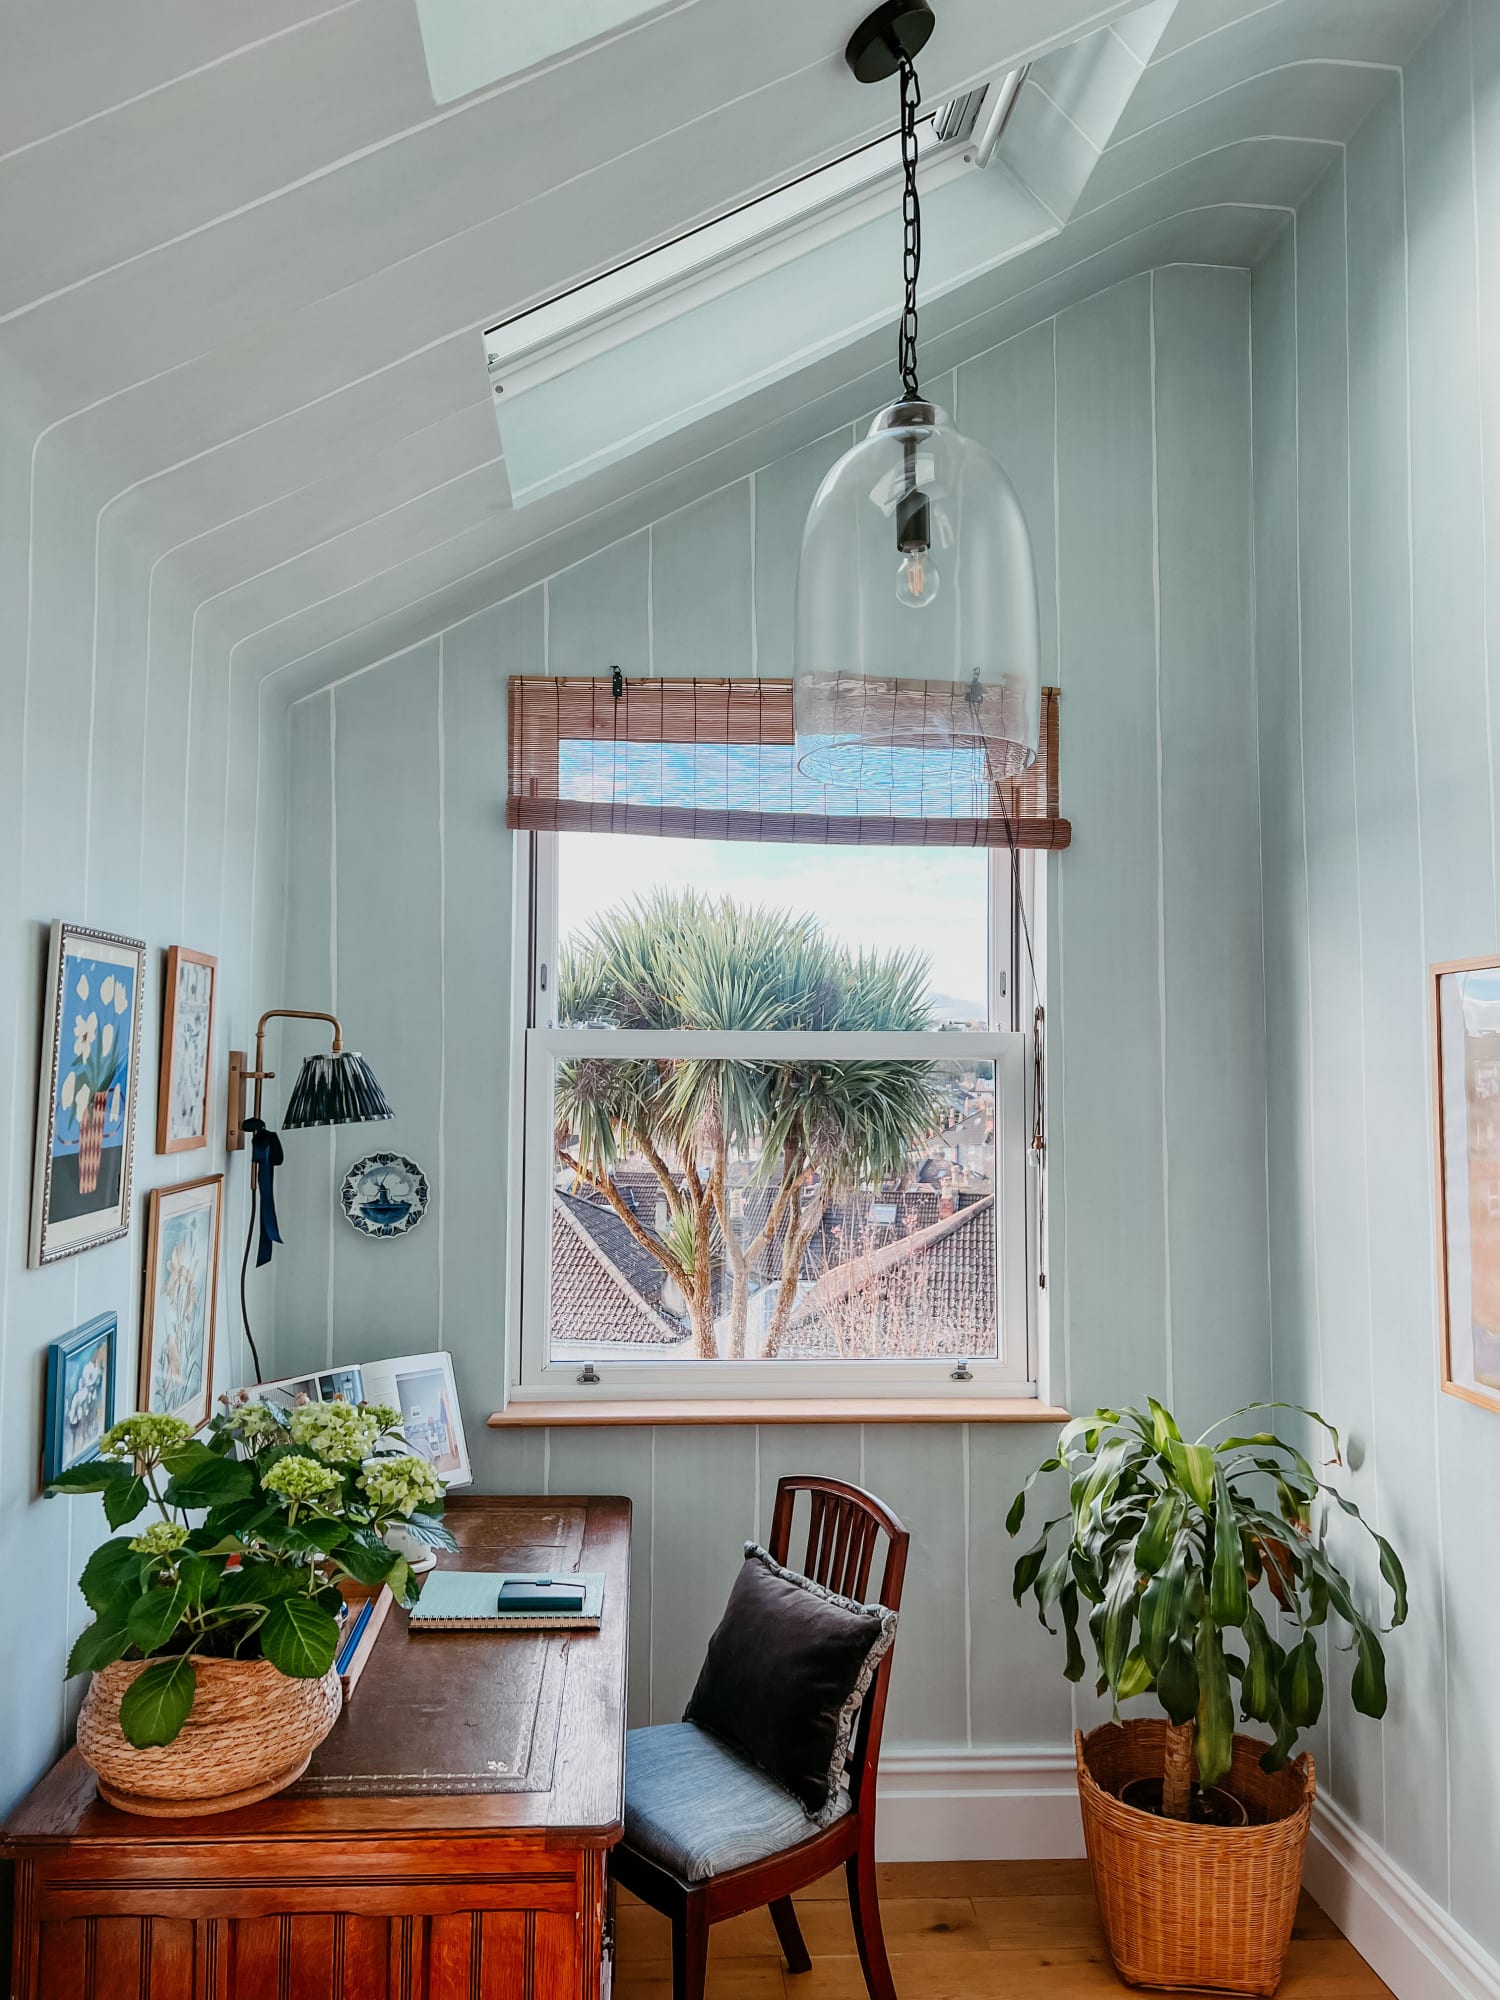
Image credit - @abigailrogersinteriors
Step-by-step: How to wallpaper a ceiling
Wallpapering a ceiling might be tricky but it’s well worth it. It’s a great way to play around with patterns, colours, and textures and really put your own personal style stamp on a space. It has the potential to make way more of a statement than your standard paint job, that’s for sure.
Plus, it’s a lot less daunting than you think when you’re following our easy step-by-step guide.
1. Size the ceiling
Nope, this doesn’t mean taking measurements — ‘sizing’, in this context, means covering the ceiling with a light layer of diluted paste and letting it dry before pasting your paper on to enhance the application.
2. Measure and mark your ceiling and paper
Mark a straight line across your ceiling by tacking a piece of taught string from one side of the room to another with pins. Get this string straight by using a spirit level. Use a ruler or measuring stick to accurately draw a pencil line following the string.
Once that’s done, measure the length of your ceiling, from one end to another, and cut the wallpaper to size, leaving a couple of centimetres extra on each end for wiggle room and overlap.
3. Paste your paper and fold it into a concertina
Once you have applied the paste to the wall or the back of your paper strip, whichever your wallpaper requires, fold it into a concertina. Make sure the folds are no more than 30-35cm long because if they’re too wide, you’ll have to stretch your arms too far.
Something to note:
Instead of applying the paste to your paper, did you know you can apply the paste directly to the ceiling instead? You might find this method easier if you’re using modern wallpaper rather than heavier traditional wallpaper, like embossed paper. Simply apply the paste to the ceiling as you go, panel by panel.
4. Hang your first drop
Place your first strip of paper against the straight light you drew earlier and start smoothing it into place by unfolding one concertina section at a time. Use a wallpaper smoother after your pasting brush/roller as you go to reduce air bubbles and wrinkles. This is where having somebody to help and scaffolding to walk along would be a huge help!
Top tips:
• Work away from the source of natural light to make sure you end up with a seamless finish and no messy overlaps.
• Start from the centre of the room if you’re using patterned paper.
5. Smooth, score, and slice overhang
Once you reach the other end of the wall, push the paper flush to the wall and use a scorer to lightly score along the fold for a snug fit. Use a sharp knife or pair of scissors to carefully and neatly trim away any overhang.
6. Those all-important finishing touches
Done? Go over each seam with a seam roller to ensure everything is laying flat and any patterns match up perfectly.
If you spot any air bubbles you might have missed along the way, slice a small hole in the side of the blister with a sharp knife and push the air out. You can then secure the paper back down with a tiny blob of paste, being sure to carefully wipe away any excess.
7. Bonus step: share your snaps with us on social media
We love seeing your masterpieces, so don’t forget to share your wallpapering project with us on Instagram using #hoviahome!
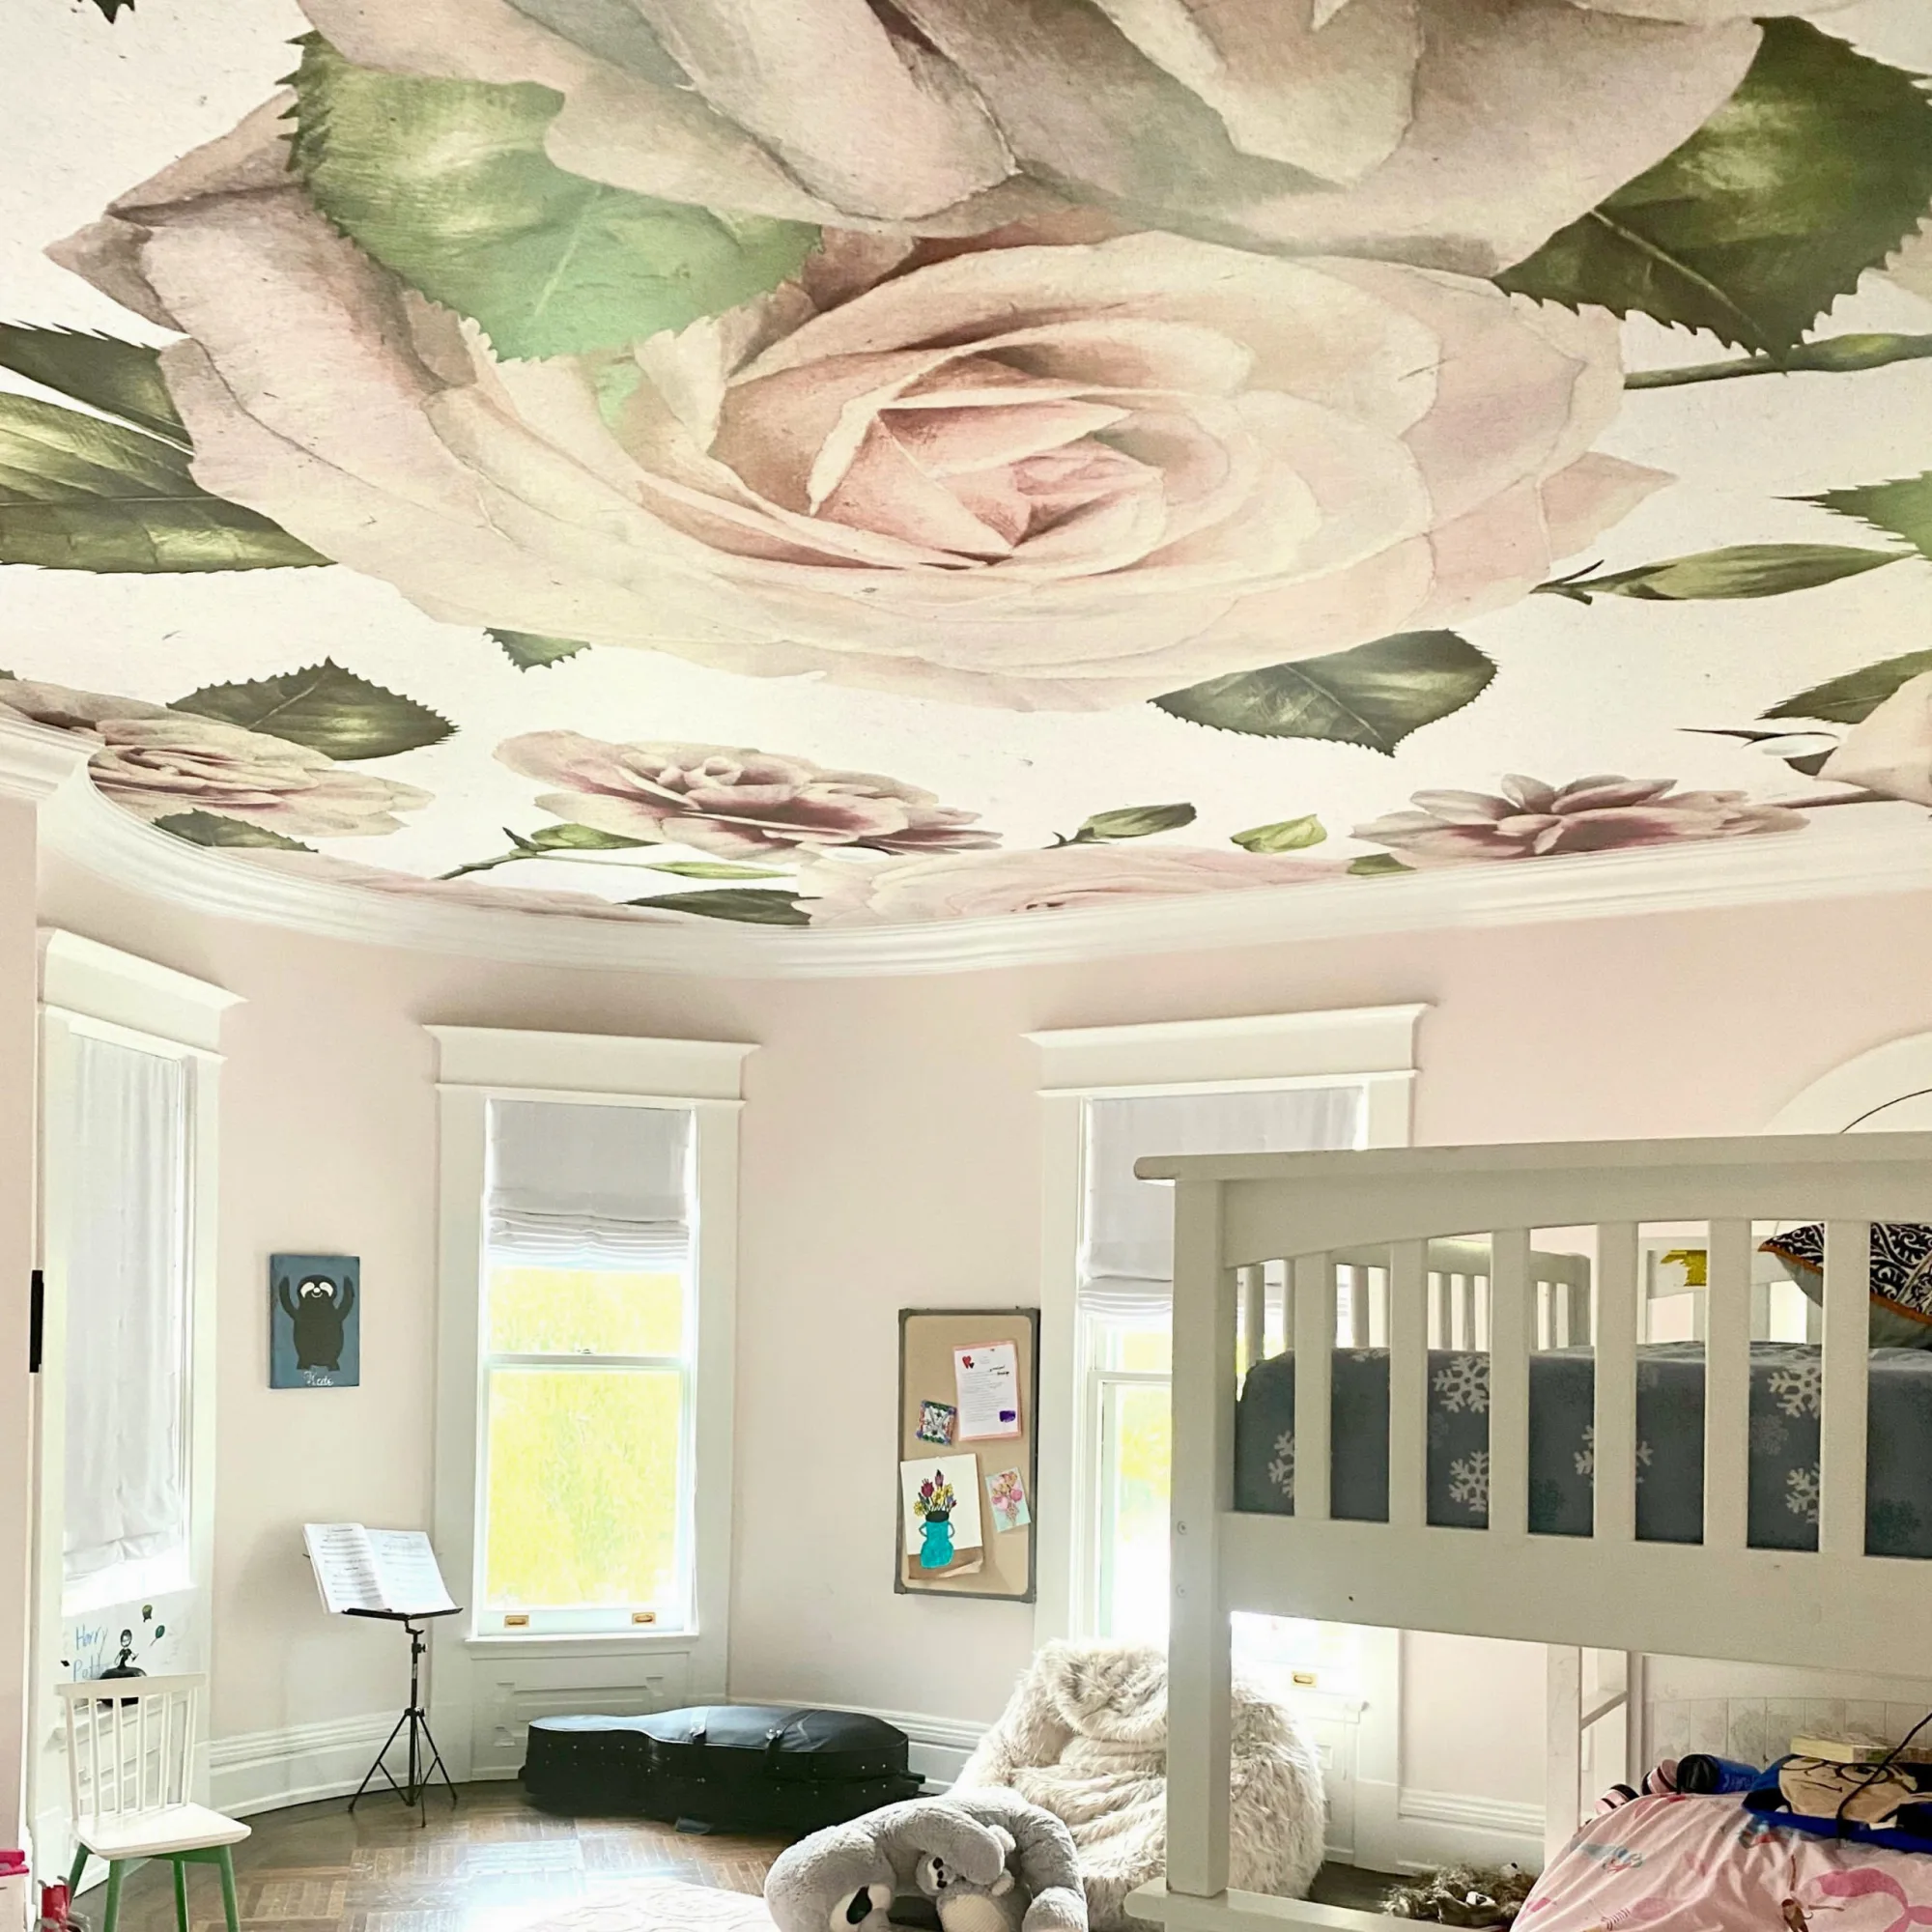
Image credit - katethedecorwhore
Top tips on how to wallpaper around a ceiling light
One of the most challenging things about wallpapering a ceiling is navigating around a ceiling light and/or ceiling rose. So, we’re sharing our pearls of wisdom on how to go about this below.
1. Turn off the electricity to make sure you stay safe.
2. Unscrew the fitting from the ceiling and remove any shades and light bulb(s).
3. Cut your strip of paper to size.
4. Apply your paste to the wall or length of wallpaper - if you’re using peel-and-stick paper, just skip this step.
5. Where the wallpaper meets the fitting or ceiling rose, create a gap for it to come through by making a series of cuts from the centre point outwards to just less than the radius of the fitting or ceiling rose.
6. You can then carefully trim around the fitting or ceiling rose with a knife or sharp pair of scissors so the paper is flush against it. Secure with a small amount of paste if necessary.
7. Replace any fixtures, shades, and bulbs.
8. Wait until the paste is fully dry before turning your electricity back on or using the light.
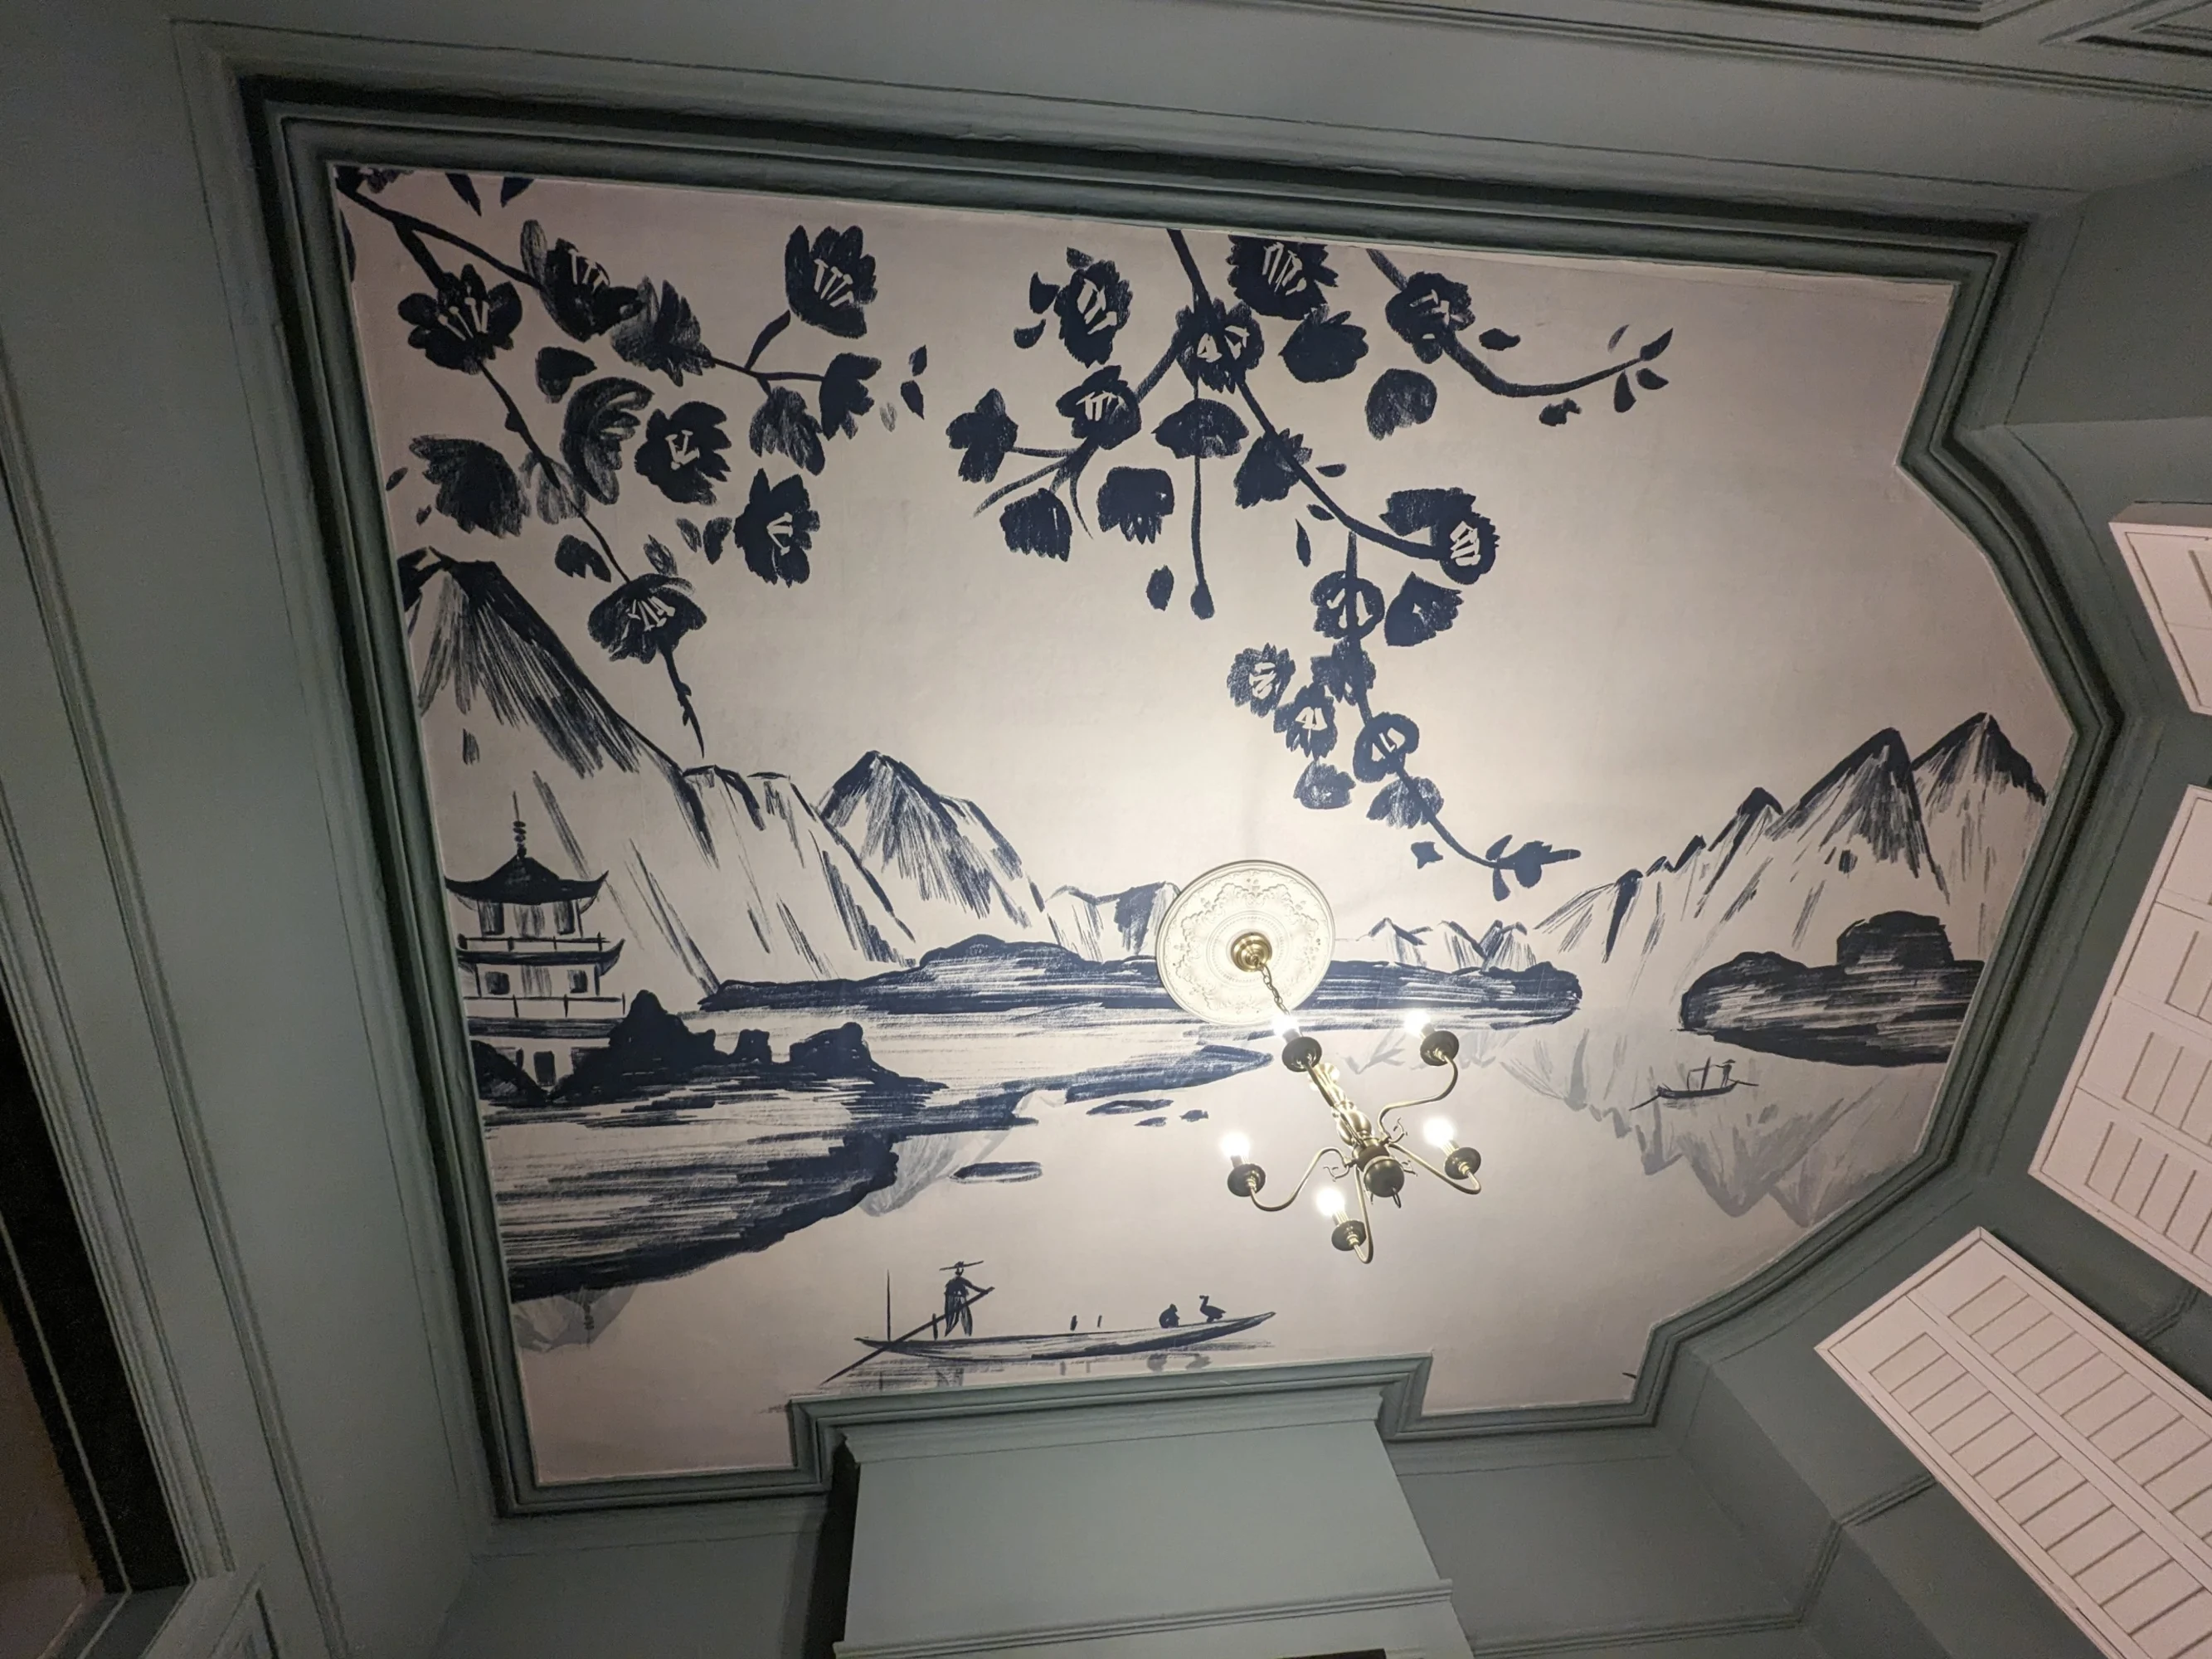
Image credit - bekindrenovation
How to remove wallpaper from a ceiling
As mentioned earlier, you'll need to remove any existing wallpaper and glue from the ceiling before you can hang your new masterpiece.
Follow the simple steps below to safely remove old wallpaper from your ceiling:
1. Use a scoring tool (or something similar like a sharp screwdriver) to make small holes all over the ceiling.
2. Apply a wallpaper stripping solution to the ceiling and let it soak into the paper for the recommended time on the product instructions. If you leave it too short, the wallpaper will be difficult to scrape and you risk damaging the surface underneath.
3. Once the wallpaper has absorbed the stripping solution for sufficient time, you can then peel it off using a putty knife or scraper, being careful not to scratch the surface below.
4. Once all the wallpaper has been removed, clean off any residue with a clean, damp cloth or sponge.
5. Be sure to fill and sand any cracks or holes in the ceiling before applying new wallpaper.
Helpful tips: Always wear safety goggles and gloves when using stripping chemicals to protect your eyes and skin. Open windows for proper ventilation in the room.
Ready to get started? Browse our selection of wallpapers and murals to find the perfect product for you.
Sign up for our newsletter below to receive DIY tips and the latest product updates directly to your inbox.