How to Hang Wallpaper Like a Pro
Here at Hovia, we’re wallpaper and home decorating experts, and we like to keep things simple. Today, we’re going to be giving you all the knowledge you need on how to hang wallpaper – in easy but well-detailed steps.
We’ve put together this clear and complete guide to empower everyone to hang their wallpaper with confidence.
Let’s take the confusion and challenge out of wallpapering, and leave you feeling good about the best way to hang wallpaper on your wall.
If you’re looking for how to hang Hovia wallpaper specifically, you can find our installation guides here.
Contents
Here’s what we’ll be covering:
All the tools you’ll need
How to prepare the room and walls
How to measure any wall shape
How to cut the wallpaper
How to apply paste
How to hang the wallpaper
Not got a wallpaper to hang yet? Visit our bestsellers to get inspired!
Step 1: Tools you will need for wallpapering
It’s time to gather up your tools. Here’s everything you’ll need:
Straightedge
Sharp Stanley / craft knife or scissors
Bucket
Clean, damp microfiber cloth
Plumb line or spirit level
Plastic wallpaper smoother (like a squeegee, but with a felt edge instead of rubber)
If your wallpaper doesn’t have a peel and stick backing, you’ll also need:
‘Paste the wall’ adhesive
Pasting brush or roller
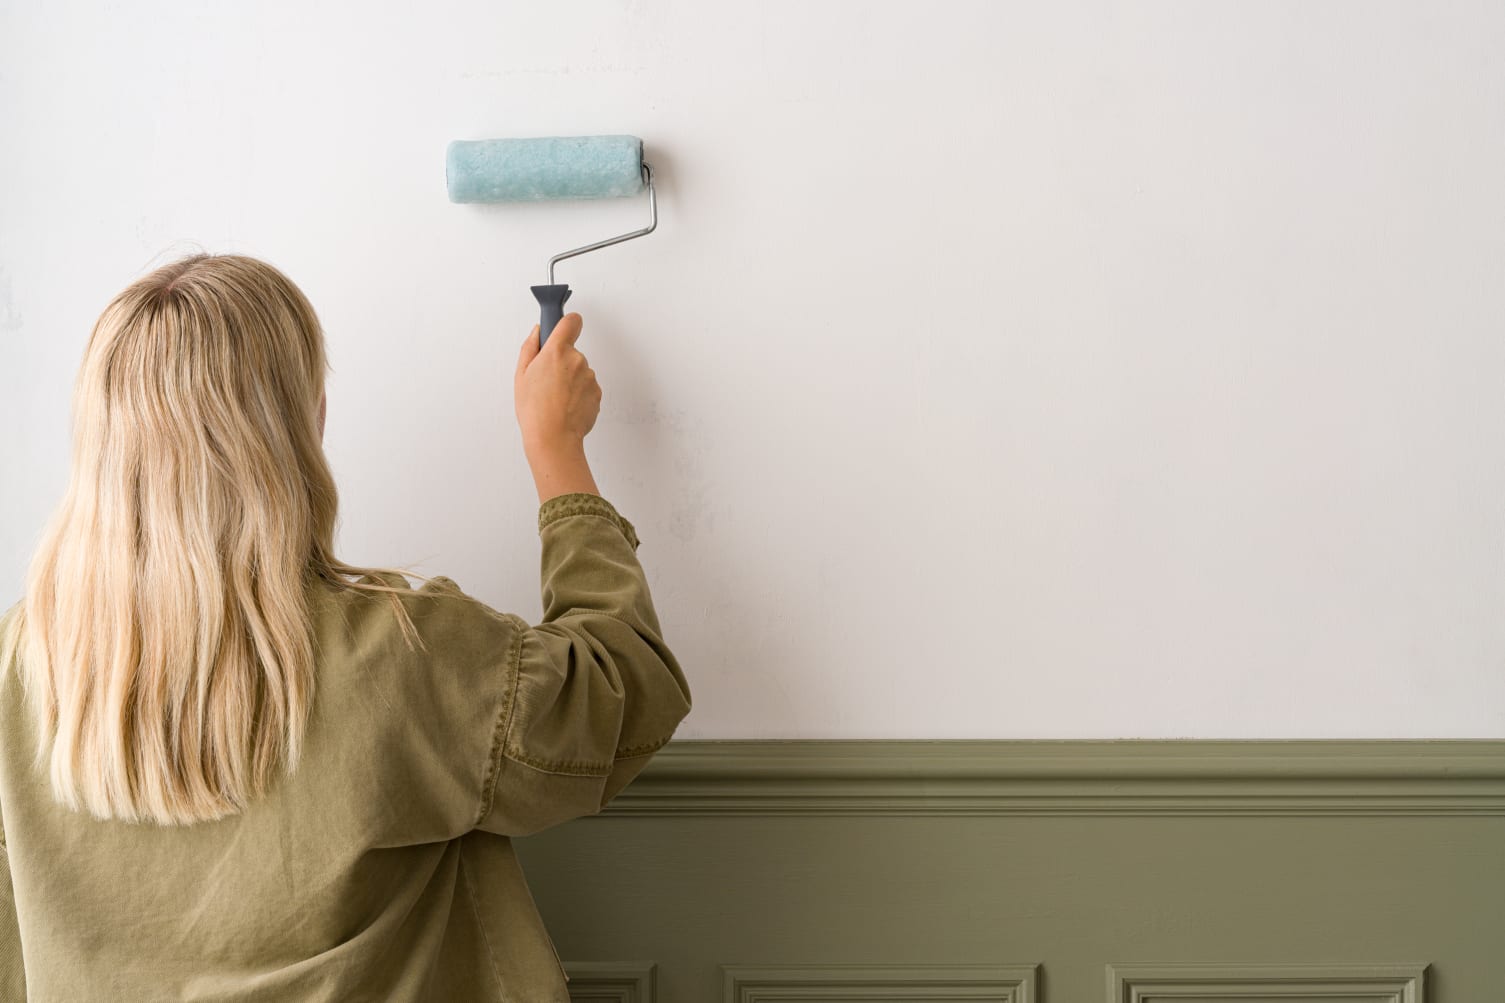
Step 2: Preparing your walls for wallpapering
If you want your wallpaper to look good and last long, wall preparation is an important step that shouldn’t be skipped.
What you will need to prepare the wall
You’ll need:
Sandpaper
Sponge
Other items you may need:
Primer
Paintbrush (to apply the primer)
Repair filler
Scraper (to apply the filler)
How to prepare a wall for wallpaper
To successfully hang your new wallpaper, your wall needs to be smooth, clean and completely dry.
The wall surface should be free from old backing paper and any dirt, dust, grease, mildew, or ink stains. These can stop your wallpaper from sticking properly, or make your paper uneven.
These are the general steps you should follow:
Remove any nails and screws. Then, fill in any cracks in the wall by applying repair filler and smoothing things out with a scraper tool.
Switch off the electricity mains and remove any sockets and switch covers.
Sand down any rough areas until smooth.
Use a sponge to clean the walls with warm water and mild soap. Then, allow the walls to dry for a minimum of 24 hours.
Here’s how to prepare different types of wall surfaces:
1. Emulsion paint wall
If you have a wall painted in emulsion paint, you can wallpaper over it once it’s clean. If the wall is freshly-painted, it’s best to wait for 4 weeks before applying wallpaper over the top.
For the most accurate guidance, see what your paint tin has to say, or check the brand’s website for advice on how long to let the paint dry before wallpapering.
2. Porous surface (plaster, cement render)
For an old plaster wall, ensure that it’s stable and free of mould. For newer plaster, ensure it is completely dry.
If you have a cement render wall or a concrete surface, make sure that you sand it till it’s smooth.
For either type of porous surface, you’ll want to seal the wall with a primer or diluted paste (also known as ‘sizing’ a wall). Allow the primer to dry, and this will stop the paste being absorbed during installation.
3. Plasterboard
If your wall is plasterboard, make sure to fill in any screw holes and joints between the plasterboards (also known as ‘spackling’).
Smooth and seal the wall with a primer or diluted paste. Allow the primer to completely dry, and this will stop the paste being absorbed during installation.
How to seal a wall for wallpapering:
If you need to seal your porous or plasterboard wall, we recommend using a primer. Sealing your wall means that your wallpaper adhesive won’t seep into the wall and quickly dry up while you’re applying it. It turns a porous surface into a non-porous surface!
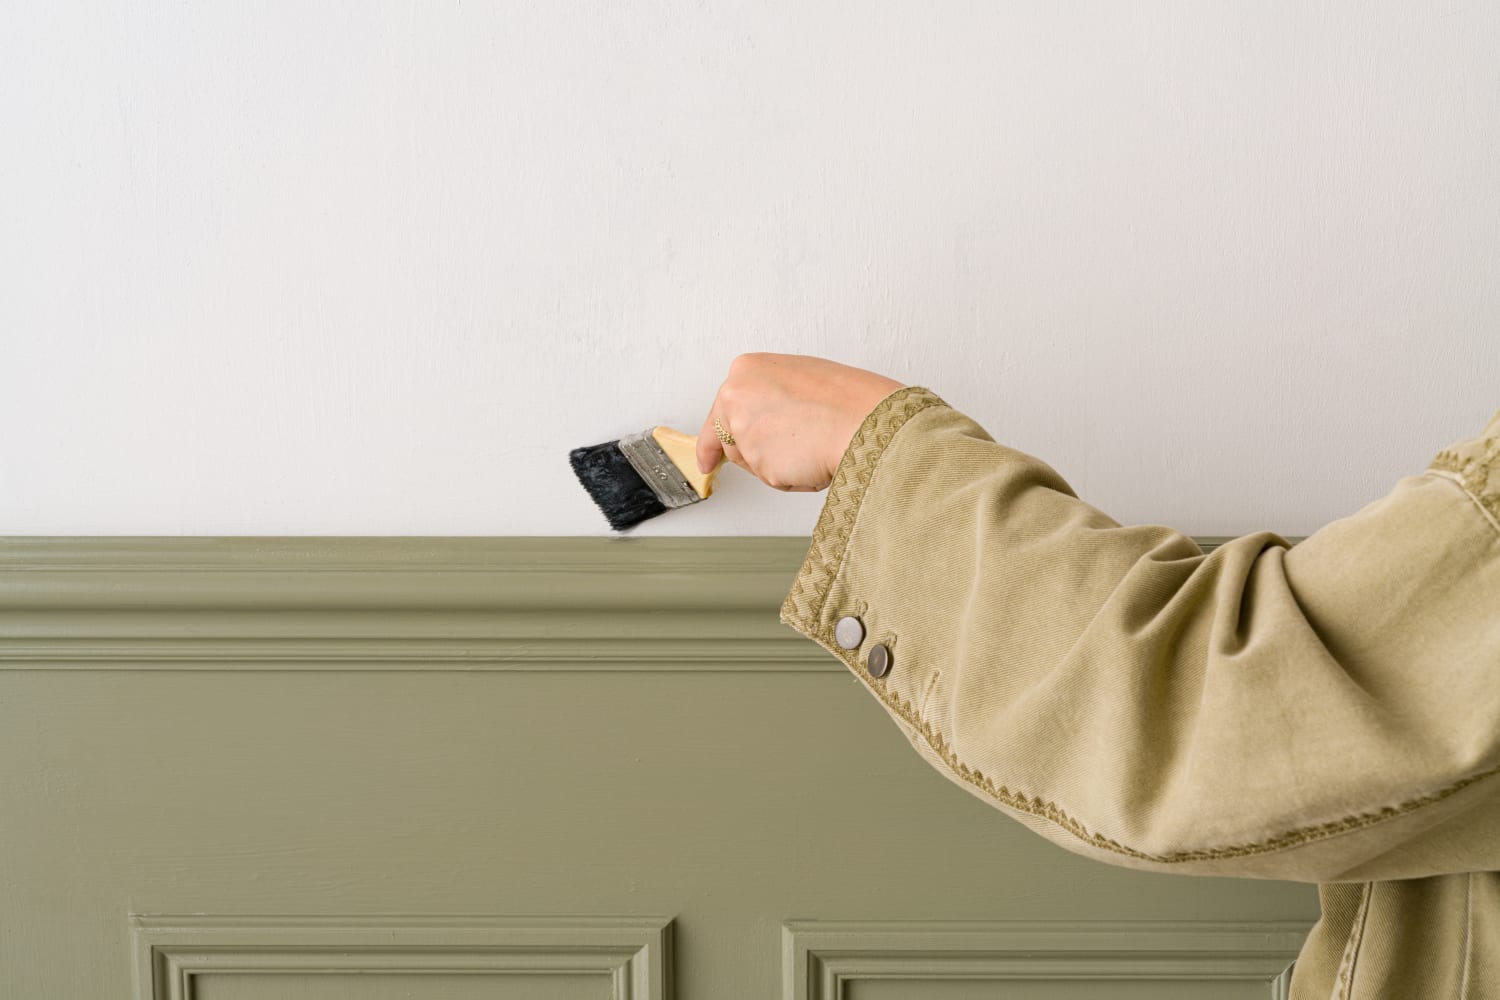
Simply use a brush to cover your wall in the primer solution, and let it dry. Follow the instructions on the packaging of the primer you bought for the best guidance on applying and allowing it to dry.
Tips: Preparing walls for wallpaper
Can you wallpaper on painted walls?
You can! There’s no need to remove paint before you hang wallpaper.
And, as mentioned earlier, we recommend leaving a freshly painted wall for 4 weeks to dry properly.
Should I repaint my walls first?
Ideally, you want your wall to have a light, uniform colour. If this isn’t the case for you right now, we recommend painting it.
If your wall has a dark paint colour or a pattern, this may show through your wallpaper if the wallpaper is a lighter colour than the current wall.
How to prepare a wall after removing wallpaper
If you have an old wallpaper to remove before you install your shiny new one, there are some preparation tips you’ll need to know – such as stubborn glue removal, if you’ll need a steamer or not, and how to make sure you don’t damage your wall.
Check out our guide on How to remove wallpaper for the full breakdown.
Can you put up wallpaper without paste?
If you don’t want paste to be part of your wallpaper hanging process, you can choose a peel and stick wallpaper instead.
Peel and stick wallpaper (also known as self-adhesive wallpaper) is already sticky. For most of them, you simply peel off the protective backing and press the paper to the wall.
Step 3: Measure your walls for wallpapering
What you’ll need to measure the wall
All you’ll need at this stage is a measuring tape.
You may want help from a second person to hold the tape in place while you take measurements, too.
How to measure for wallpaper
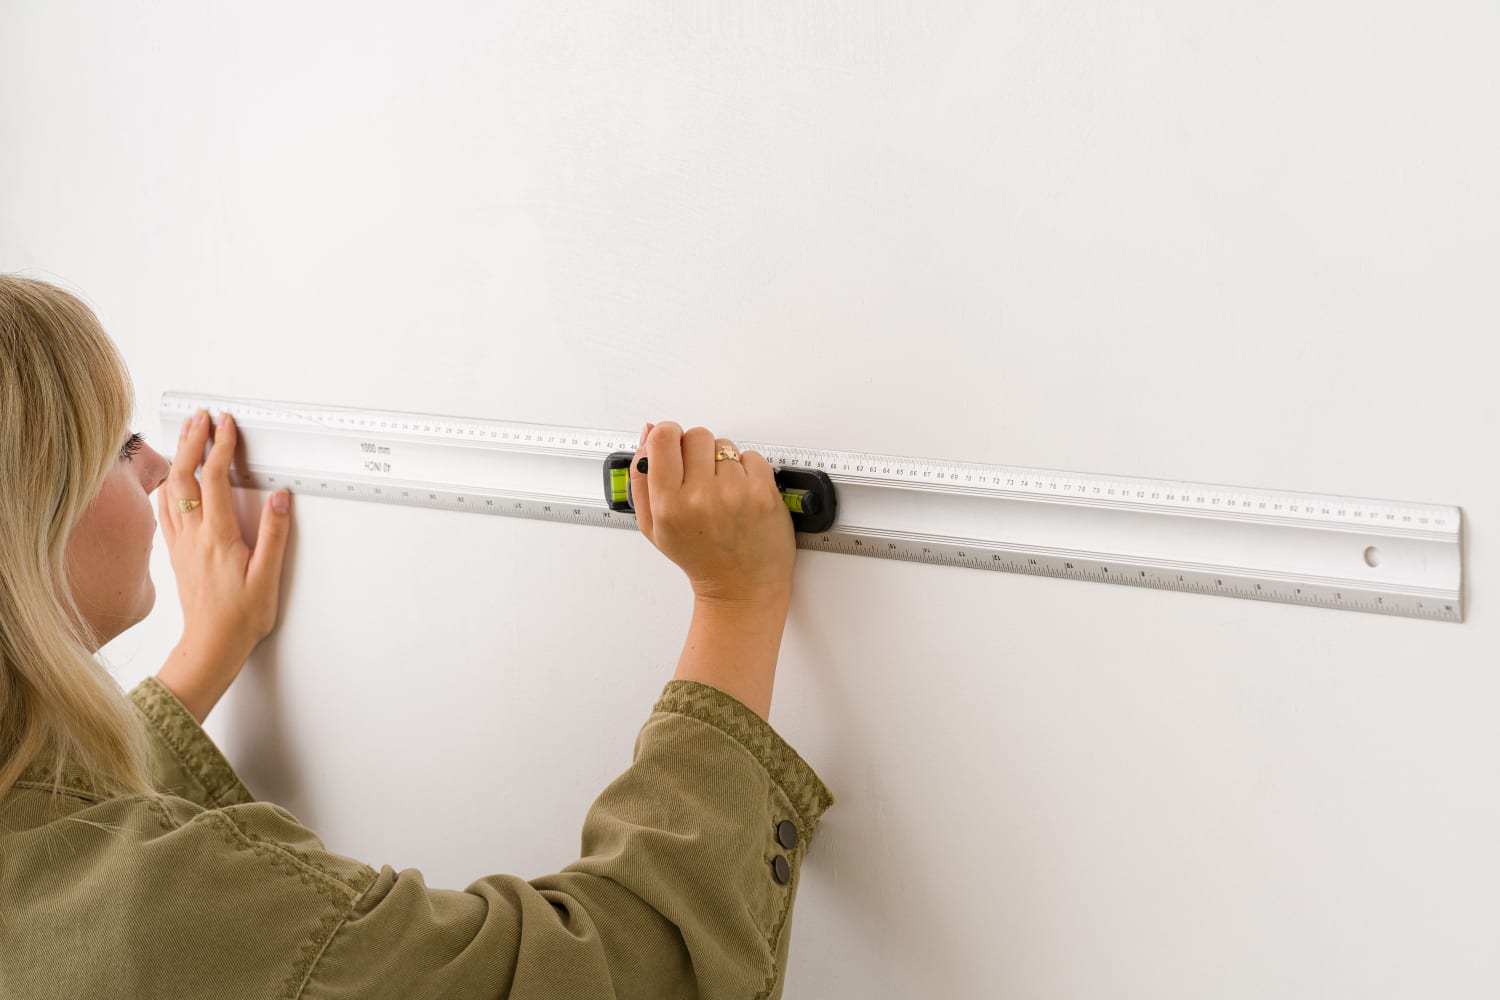
Measuring your wall is easier than you think. All you need is the width of your wall at its widest possible point, and the height of your wall at the highest possible point.
Here’s how to measure different shapes and types of walls:
Here’s how to measure different shapes and types of walls:
1. Standard wall
Measure the full height and width of the wall. You only need the dimensions of the surface that you want to cover with wallpaper. So you can exclude skirting boards and coving.
2. Sloped wall
If you have a sloped wall or ceiling, you can ignore the slope while you measure. Measure the widest width and longest length only.
If your new wallpaper happens to be a Hovia mural, we provide the mural in a square or rectangle shape, and you simply cut the part that meets the slope away during installation.
3. Pitched wall
If your wall has two slants, simply measure the longest width and tallest height of the wall. When you install your wallpaper, you’ll simply cut away the parts you don’t need when you come to the slopes.
4. Wall with obstacles
When there’s a door, window, or other obstacle on your wall, you only need to measure the total width and height of the wall. You’ll cut around these obstacles as you hang your wallpaper.
Tips: Measuring walls for wallpaper
To work out how many rolls you need for any wallpaper, first check how wide the rolls are that you’re buying, and how long a full roll is. Once you’ve measured the width of your wall, you’ll now know how many widths of wallpaper are needed to cover the entire wall. Measure the height of your wall, and times that by the number of wallpaper widths that you need. Now, divide that number by the length of a wallpaper roll. The number you’re left with tells you how many rolls you’ll need to buy.
(If you’re buying rolls of Hovia wallpaper, we have a handy calculator on our product pages that figures it all out for you! Here’s an example.)
Want to wrap your wallpaper around multiple walls? Measure the widths of all of the walls and combine the widths into just one measurement. This will ensure that the mural image or wallpaper pattern can continue seamlessly around the walls.
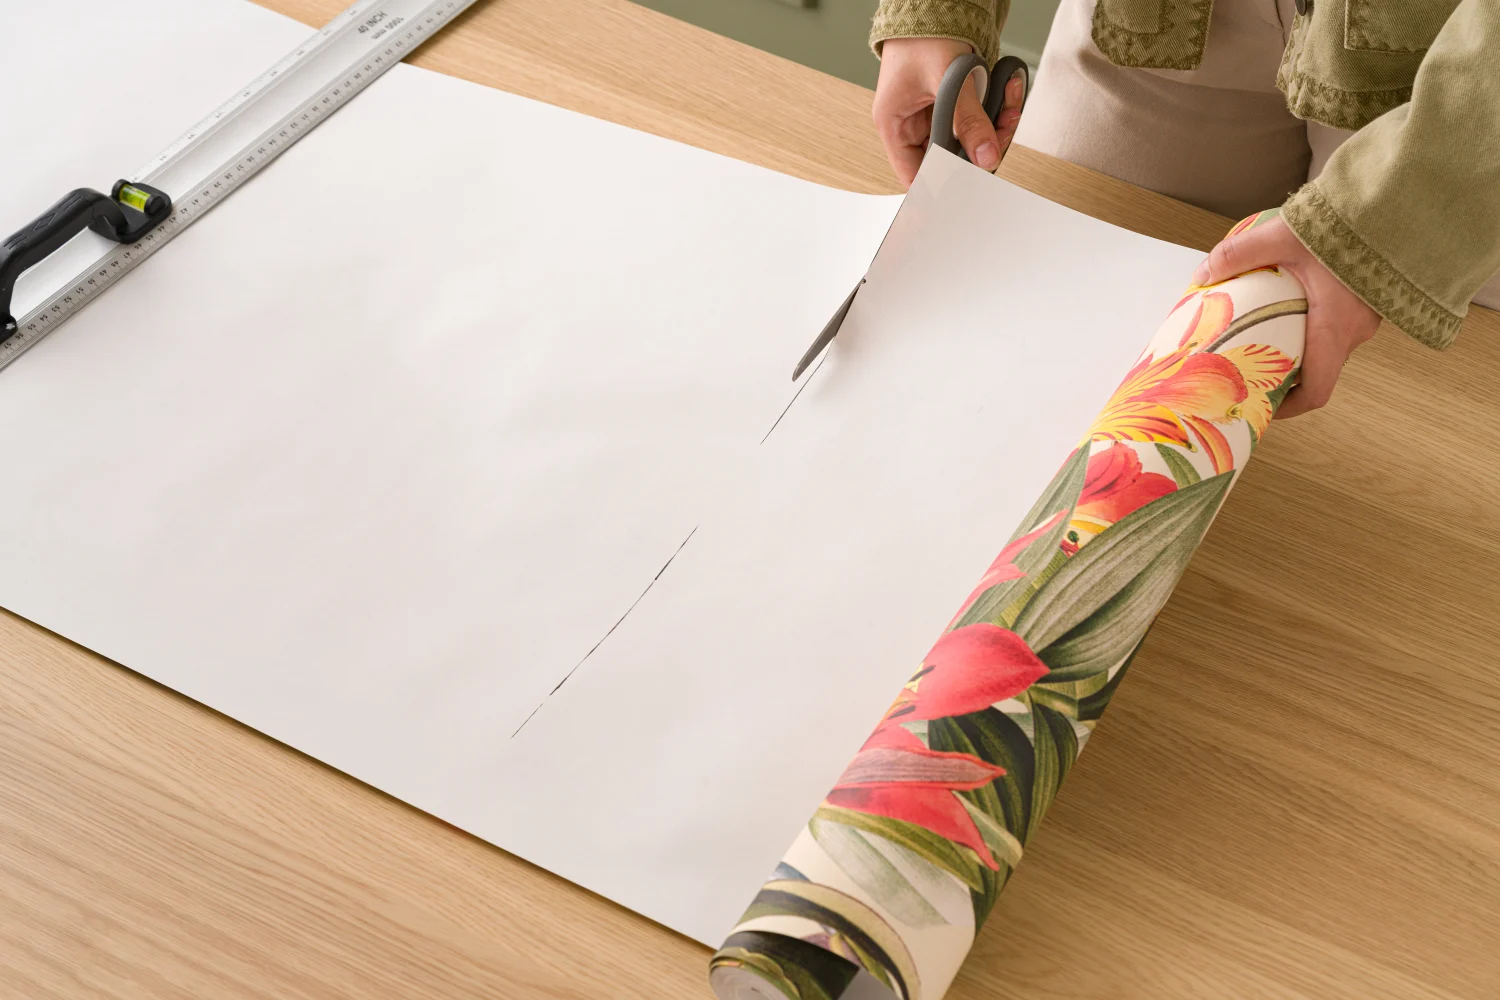
Step 4: Cut the wallpaper
How to cut a wallpaper mural
Your mural panels may come pre-cut and numbered. If not, unroll the mural and follow the brand’s specific advice on how to separate the panels. There might be a dotted line indicating where to cut the panels, for example.
After you’ve hung your mural, cut away the overhanging excess paper at the top and bottom of the wall with a craft knife to complete your installation. Use a straight edge, and cut carefully to make sure you get a clean line for the perfect finish.
Tip: Dull blades can cause the paper to tear, so make sure that your knife is sharp.
How to cut repeat pattern wallpaper
Measure the height of your wall with a tape measure.
Tip: If you’re wallpapering a large area, measure the height of the wall in several places, as it could differ if the wall isn’t completely straight.
Tip: Add 100mm of excess onto the measurements to allow for variations in height.Unroll your wallpaper and mark your wall height measurement on the back of the paper with a pencil. Then, cut your first strip a bit past the line (to make sure it’s not cut too short).
Unroll the next length of wallpaper and place it edge-to-edge with the first strip to match up the pattern. Use the bottom edge of the first strip as a guide to then cut the second strip. Now continue cutting the rest of the strips.
At the end of your installation, trim away any excess paper at the tops and bottoms of the wallpaper using a sharp knife.
Step 5: Apply wallpaper paste
If your wallpaper isn’t the peel and stick adhesive kind, you’ll need to apply paste to hang it. For some traditional wallpapers, you’ll want to apply paste directly onto the paper. For most modern wallpaper, you can use the paste-the-wall method instead if you prefer. We’ll go over the easy steps for both methods.
But first, which type of paste should you use?
Using premixed wallpaper paste vs mixing it yourself
You know that you’ll need wallpaper paste for this step. But should you use premixed paste or mix it yourself?
Whether you buy a tub of paste or buy a powdered paste and mix it yourself, both should work just as well as each other. Take a look at the options online or in your local DIY shop, and decide what works best for you.
Premixed paste is ready for you to use and will usually come in a large, heavy tub. Powdered paste needs to be mixed with water in a bucket, but it will likely cost less than a tub of paste and should come in smaller packaging.
Which type of wallpaper paste to choose
If you’ll be using the paste-the-wall method, you can buy paste the wall adhesive. If you’ll be applying your paste directly onto the paper, use an all-purpose wallpaper adhesive.
Paste the wall
What you will need to paste the wall
Pencil
Plumb line or spirit level
Pasting brush or roller
Bucket
Wallpaper paste (paste-the-wall adhesive)
How to apply wallpaper paste to the wall
For this method, you’re putting the paste directly onto the wall - not the paper. Follow our simple steps.
1. Mark the wall
Before you start applying paste, you’ll need to make sure your first strip is ready to put up properly.
Measure the width of your first wallpaper strip, and mark the width on the wall with a pencil. Marking the wall in different places down the length of the wall will make it easier to draw a full straight line in the next step.
2. Draw a line
Get your plumb line or spirit level in line with your mark, then draw a vertical line down with your pencil. Now you’ve got a guide for where you will hang the first strip, and it will help you make sure it’s hung straight.
3. Apply paste
Now, it’s time to put enough paste on the wall to hang your first strip. Use your brush to apply the paste within the guide area that you’ve just drawn. But let the paste go just beyond the pencil line as well, just in case the line is slightly out of place.
It’s important for the coat of paste to be smooth, even, and thinly spread to reduce the risk of bubbles underneath the paper.
Note
When hanging your wallpaper on the pasted wall, try your best not to pull or stretch the paper material. Work from the top and let the wallpaper fall naturally, taking particular care to avoid scuffing or scratching the printed surface.
Tips: Pasting the wall
How long do you leave the paste on before hanging?
Hang the wallpaper right after the paste is on the wall, so that you can get the paper up before the paste dries.
We recommend pasting in sections. If you add paste to the whole wall before you’ve hung any wallpaper strips, the paste might dry before you have the chance to hang all of the paper.
Can you put up wallpaper without paste?
If you choose a peel and stick wallpaper you can put up the wallpaper without using paste, thanks to its sticky backing.
For regular wallpaper, though, you will need paste as your adhesive.
How long do you leave the paste on before hanging?
With the paste-the-wall method, you don’t need to wait for the paste to dry. Once you’ve applied a thin, even layer of paste to one section, hang a single wallpaper strip. Then repeat until every strip is up, and your wall will be complete!
Paste the paper (traditional wallpaper)
What you will need to paste traditional wallpaper
Pasting brush or roller
Bucket
All-purpose wallpaper paste
Wallpaper pasting table (or any table that’s long enough to fit your wallpaper strips on, which you also don’t mind getting paste on)
How to apply paste directly to the paper
Once you’ve cut your paper strips, lay the first one down on your pasting table and apply a layer of paste to the back of the paper with your brush or roller.
Let the paste soak for 5 minutes, and then you can hang the strip. Repeat with all of your strips until you’re finished!
Tips: Pasting the wallpaper
If it’s not clear which way up your wallpaper design goes, you’ll find it useful to lightly write ‘top’ on the back of the paper before you start pasting it, so you know which is the top and which is the bottom of the strip.
Paste the wallpaper starting at the centre of the strip and sweeping your brush or roller outwards to the edges. This will help you avoid crumpling the paper or needing to keep holding it down as you paste.
While you don’t want your layer of paste to be uneven or sparse, don’t add too much paste. You want a light layer rather than a gloopy one that might squeeze out from the edges as you press your paper onto the wall. It also means you won’t be weighing down the paper with an excess of paste.
Step 6: Hang the wallpaper
How to hang a peel and stick wall mural
A peel and stick wall mural – also known as self adhesive wallpaper – doesn’t need any paste. It comes with its own adhesive on the back!
We’d recommend getting a friend involved with hanging this wallpaper type, as the panels may be wide and you might find it tricky to remove the paper’s backing while you install it.
Lay out the mural
After you’ve unrolled your wallpaper and separated the panels (also known as ‘drops’), arrange them in hanging order on the floor, starting with the first panel. From here, check that the image matches up properly.
If you notice any inconsistencies with the print, don’t install it and get in touch with customer service at the place you bought it to let them know something’s not right.
Mark the wall
Work from left to right as you face your wall. Use a tape measure or ruler and a plumb line or spirit level to mark a vertical straight line a panel’s width from the wall. This will give you a guide while hanging the first panel and ensure it’s hung straight. Ensuring that the first panel is hung straight is important for a successful installation of your mural.
Note: Your wall may not be perfectly straight, and using it as a reference could result in incorrect installation! So take time to get this step right.
Line up the first panel
Peel away about a third of the backing paper from your first panel, and position the top right edge along the pencil plumb line. Once you’re happy that the first drop is straight, use the felt-tipped squeegee or similar to slowly apply pressure downwards and outwards, starting in the middle of the panel.
Smoothing the wallpaper outwards in diagonal directions allows you to remove any air trapped underneath the wallpaper. Be careful not to crease the wallpaper by smoothing too quickly or harshly.
If the panel needs to be repositioned, you can remove the panel and re-stick until it’s straight. Remove the wallpaper slowly and carefully, as it will significantly reduce the possibility of damage or stretching.
Remove the backing layer
Reach underneath the panel, and continue to gently pull the backing paper downwards to reveal the rest of the adhesive, and smooth down the mural as you go. Take extra care to ensure the edges are firmly sealed flat to the wall to make sure it sticks well. Repeat this process as you slowly move down the panel until it’s fully installed.
Butt up the panels
Now it’s time to hang the second panel. Again, remove about a third of the backing paper and, with help from a friend, visually match the design down the length of the wall. When you’re happy that the panel is straight and matches up with the first, firmly press the panels together so that the seams aren’t visible.
Smooth out any air bubbles with the felt squeegee or soft cloth. Now, continue to remove the rest of the backing paper and smooth the mural carefully as you go.
Repeat this step for all of your panels until your mural is completely installed.
Finishing touches
Using a straightedge as a guide and a razor-sharp blade, trim away any excess from your final panel and the tops and bottoms of all the panels.
One final important step is to firmly smooth the whole mural down using your microfibre cloth, as this removes any remaining pockets of air and helps the mural bond to the wall. Do this one week later as well.
Allow the mural to dry at room temperature with plenty of ventilation. If there’s a heat source on the same wall as the mural, such as a radiator, turn it down or off for the first 24 hours of drying, and this will reduce the possibility of shrinkage.
Sit back and enjoy your handiwork!
How to hang a wallpaper mural
Lay out the mural
After you’ve unrolled your wallpaper and separated the panels (also known as ‘drops’), arrange them in hanging order on the floor, starting with the first panel. From here, check that the image matches up properly.
If you notice any inconsistencies with the print, don’t install it and get in touch with customer service at the place you bought it to let them know something’s not right.
Mark the wall
All of your mural panels will be the same width. Using that same width measurement, add a few marks down the wall using your ruler and pencil, starting at the very left of the wall. Hold a plumb line or spirit level on your mark to draw a vertical line down. The line you’ve created will be your guide to making sure the first panel is hung straight (which will then ensure that the full mural is straight).
Apply paste for the first panel
If you’re using the paste-the-wall method, take your brush or roller and evenly apply paste to your first section of the wall, covering a few inches past the pencil line. A smooth, even coat will reduce the possibility of the paper bubbling.
If you opt to apply your paste directly to your paper instead of the wall, lay out the first strip of wallpaper on your pasting table and apply the paste evenly, working from the centre outwards.
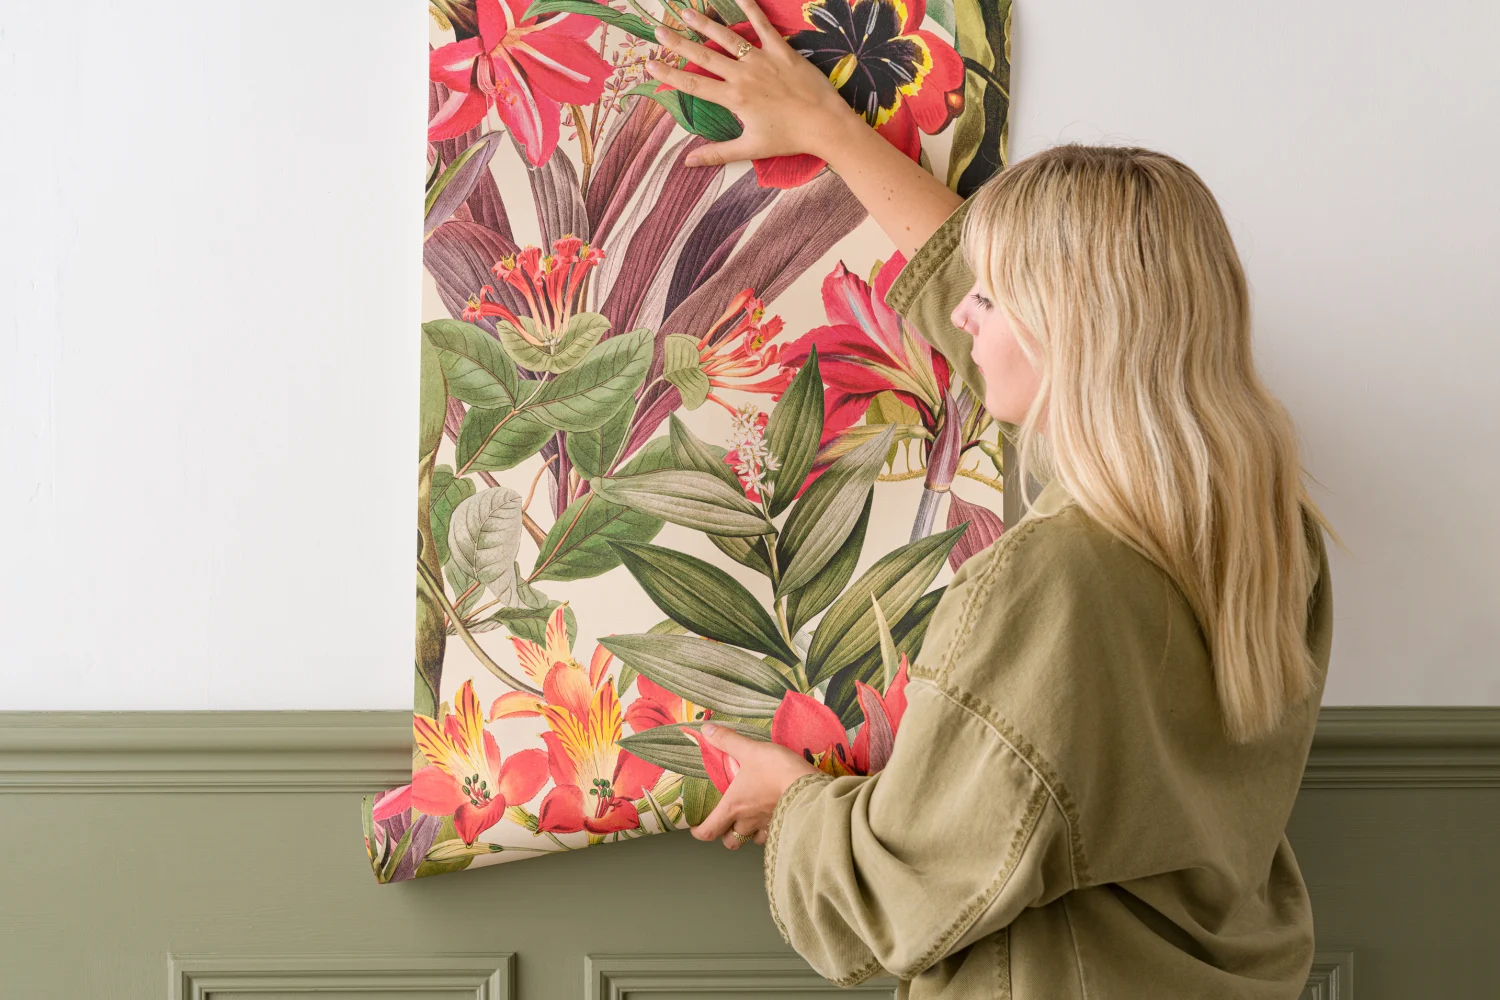
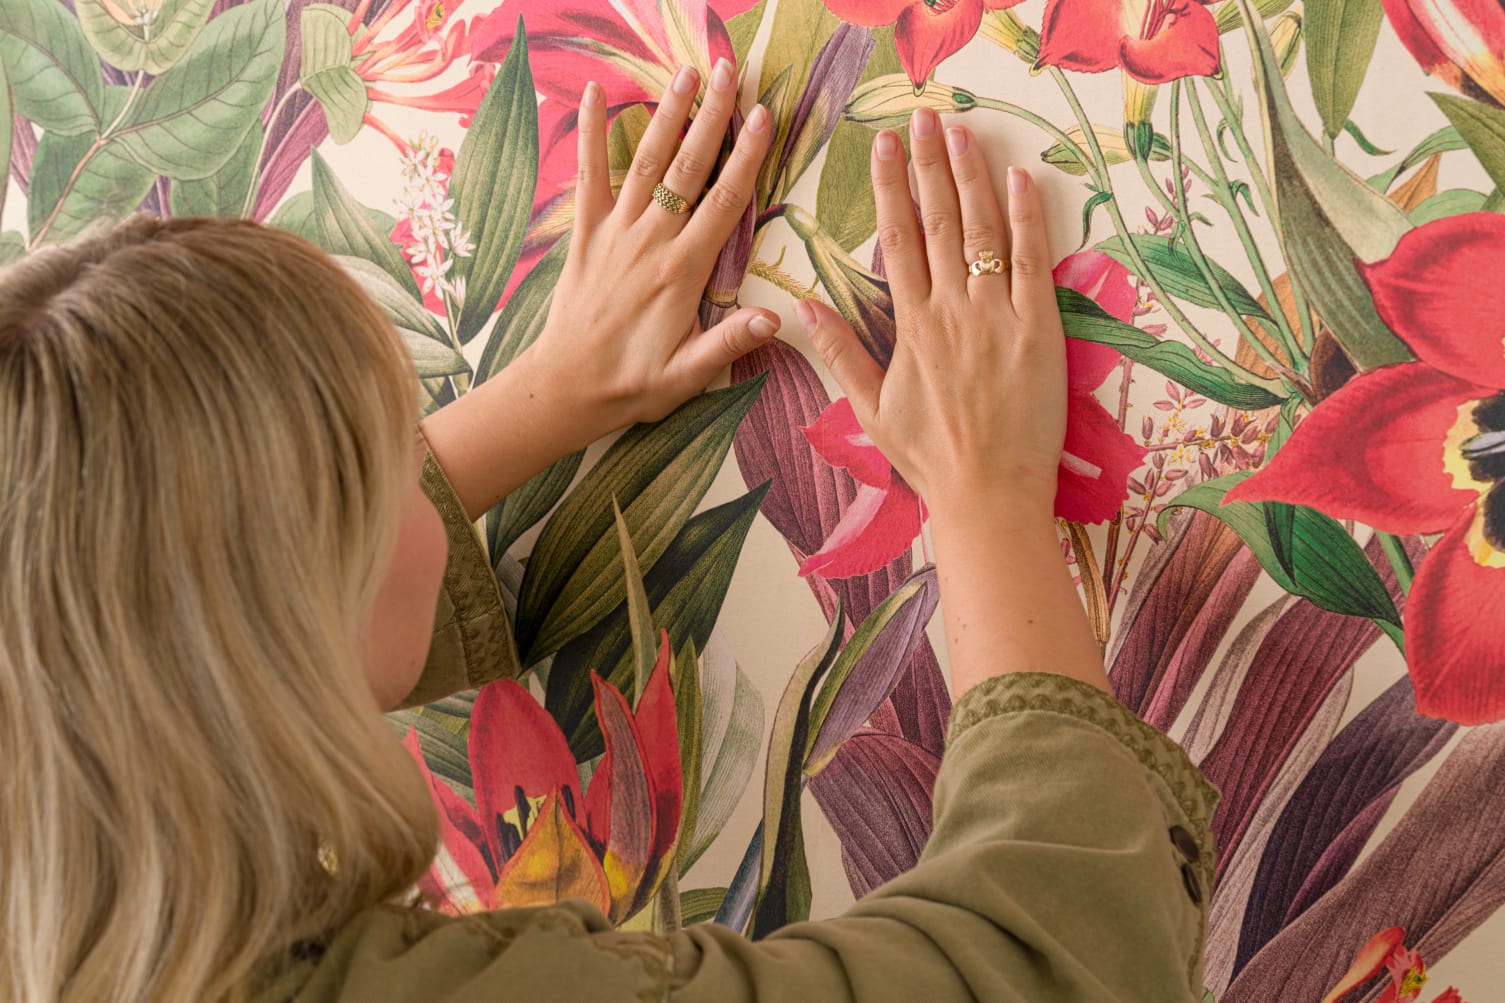
Hang the first panel
Line up your first panel with the pencil line that you made, and start to hang it from the top. Work downwards, carefully smoothing away any bubbles or ripples using the felt smoother tool or microfiber cloth as you go.
You shouldn’t pull or stretch the material during installation. Work from the top and allow the wallpaper to fall naturally, taking care to avoid scuffing or scratching the printed surface.
Hang the other panels
Some wallpaper might require overlapping the paper, but it’s most common for wall mural panels to be hung right next to each other. This is called a butt join.
Hang the second panel in the same way as the first, working from the top down, and take care to visually match up the design. Then, firmly press the panel up against the first so that the edges meet and the seams aren’t visible.
Now, continue this same process for all of the remaining panels!
Tip: Try to avoid getting paste on the surface of the mural. If any excess paste that does get on the print, gently wipe it away with a clean, damp cloth as soon as possible.
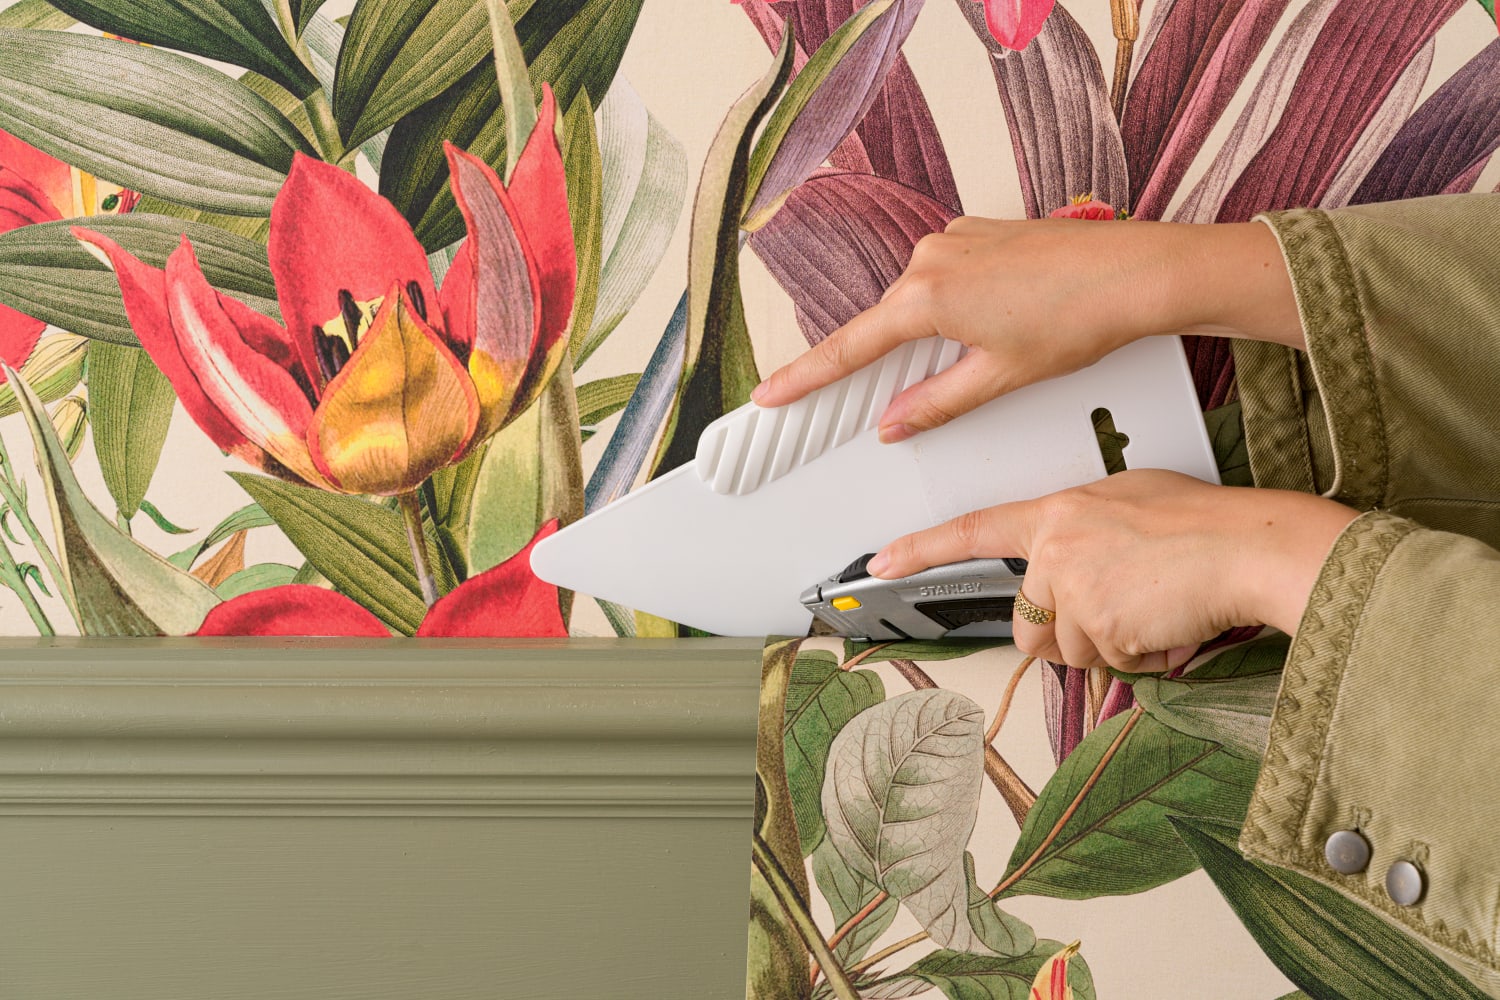
Finishing touches
Trim away any excess paper at the top and bottom of each panel using a craft knife. You may want to hold a straightedge underneath the blade to help you cut straight and to protect your skirting board, ceiling or floor from any scrapes. Dull blades can cause the paper to tear, so make sure it’s sharp or sharpen it if not.
Allow your mural to dry at room temperature with plenty of ventilation. If there’s a heat source on the same wall as the mural, such as a radiator, turn it down or off for the first 24 hours of drying, and this will reduce the possibility of shrinkage.
Now, sit back and enjoy your handiwork!
Hanging wallpaper tips
Wallpapering around corners
Covering more than one wall? Wrapping your wallpaper perfectly and seamlessly around a corner is easier than you think, but it involves some different methods than ones that you’ve learned in this guide, such as overlapping your paper.
But not to worry – we have an easy, detailed guide on wallpapering around inside corners and outside corners, which you can read here.
Wallpapering ceilings
Installing wallpaper on a ceiling is quite a different process from hanging it on a wall. It involves measuring the ceiling section by section, folding the wallpaper into quarters to make things easier, and potentially a bit of scaffolding.
If you’re up for a bit of challenging DIY, you don’t need to hire an installer to get wallpapering a ceiling right. We’ve written a dedicated guide all about how to install wallpaper on ceilings, which you can read here!
Wallpapering over wallpaper
If you asked us if we would recommend wallpapering over existing wallpaper without removing it, the short answer would be ‘no’.
Wallpapering over textured walls
We don’t advise trying to wallpaper over a textured surface, because your wall needs to be as flat and smooth as possible to get the best-looking results and not damage your paper.
However, you’ll be happy to know that it’s possible to get your textured wall smooth and ready for wallpaper.
Is it hard to hang wallpaper?
Not with Hovia’s guides and tips to help! We’ve got more than ten years of experience designing and understanding wallpaper, and one of our big goals was always to make wallpaper installation a positive experience for everyone. Over time, we’ve crafted sets of easy step-by-step guides that anyone can follow with confidence.
Where to start with hanging wallpaper?
Making sure that you’ve gathered up all the tools you need and have read through the installation guide for your wallpaper will get you well-prepared for the task, and allow everything to go smoothly.
If you’re hanging a Hovia wallpaper, a step-by-step guide for your specific paper will be included in your package. Or, view our official hanging guides on our website here.
Do you start in the middle when hanging wallpaper?
To make things easier, we recommend starting at the left-hand side of your wall and working your way towards the right.
It’s important that the first strip you hang is straight, since the first strip will act as a guide as you hang the rest of the wallpaper.