How to Wallpaper Corners
Here, we share the ultimate go-to guide on how to wrap your wallpaper around internal and external corners like a complete expert.
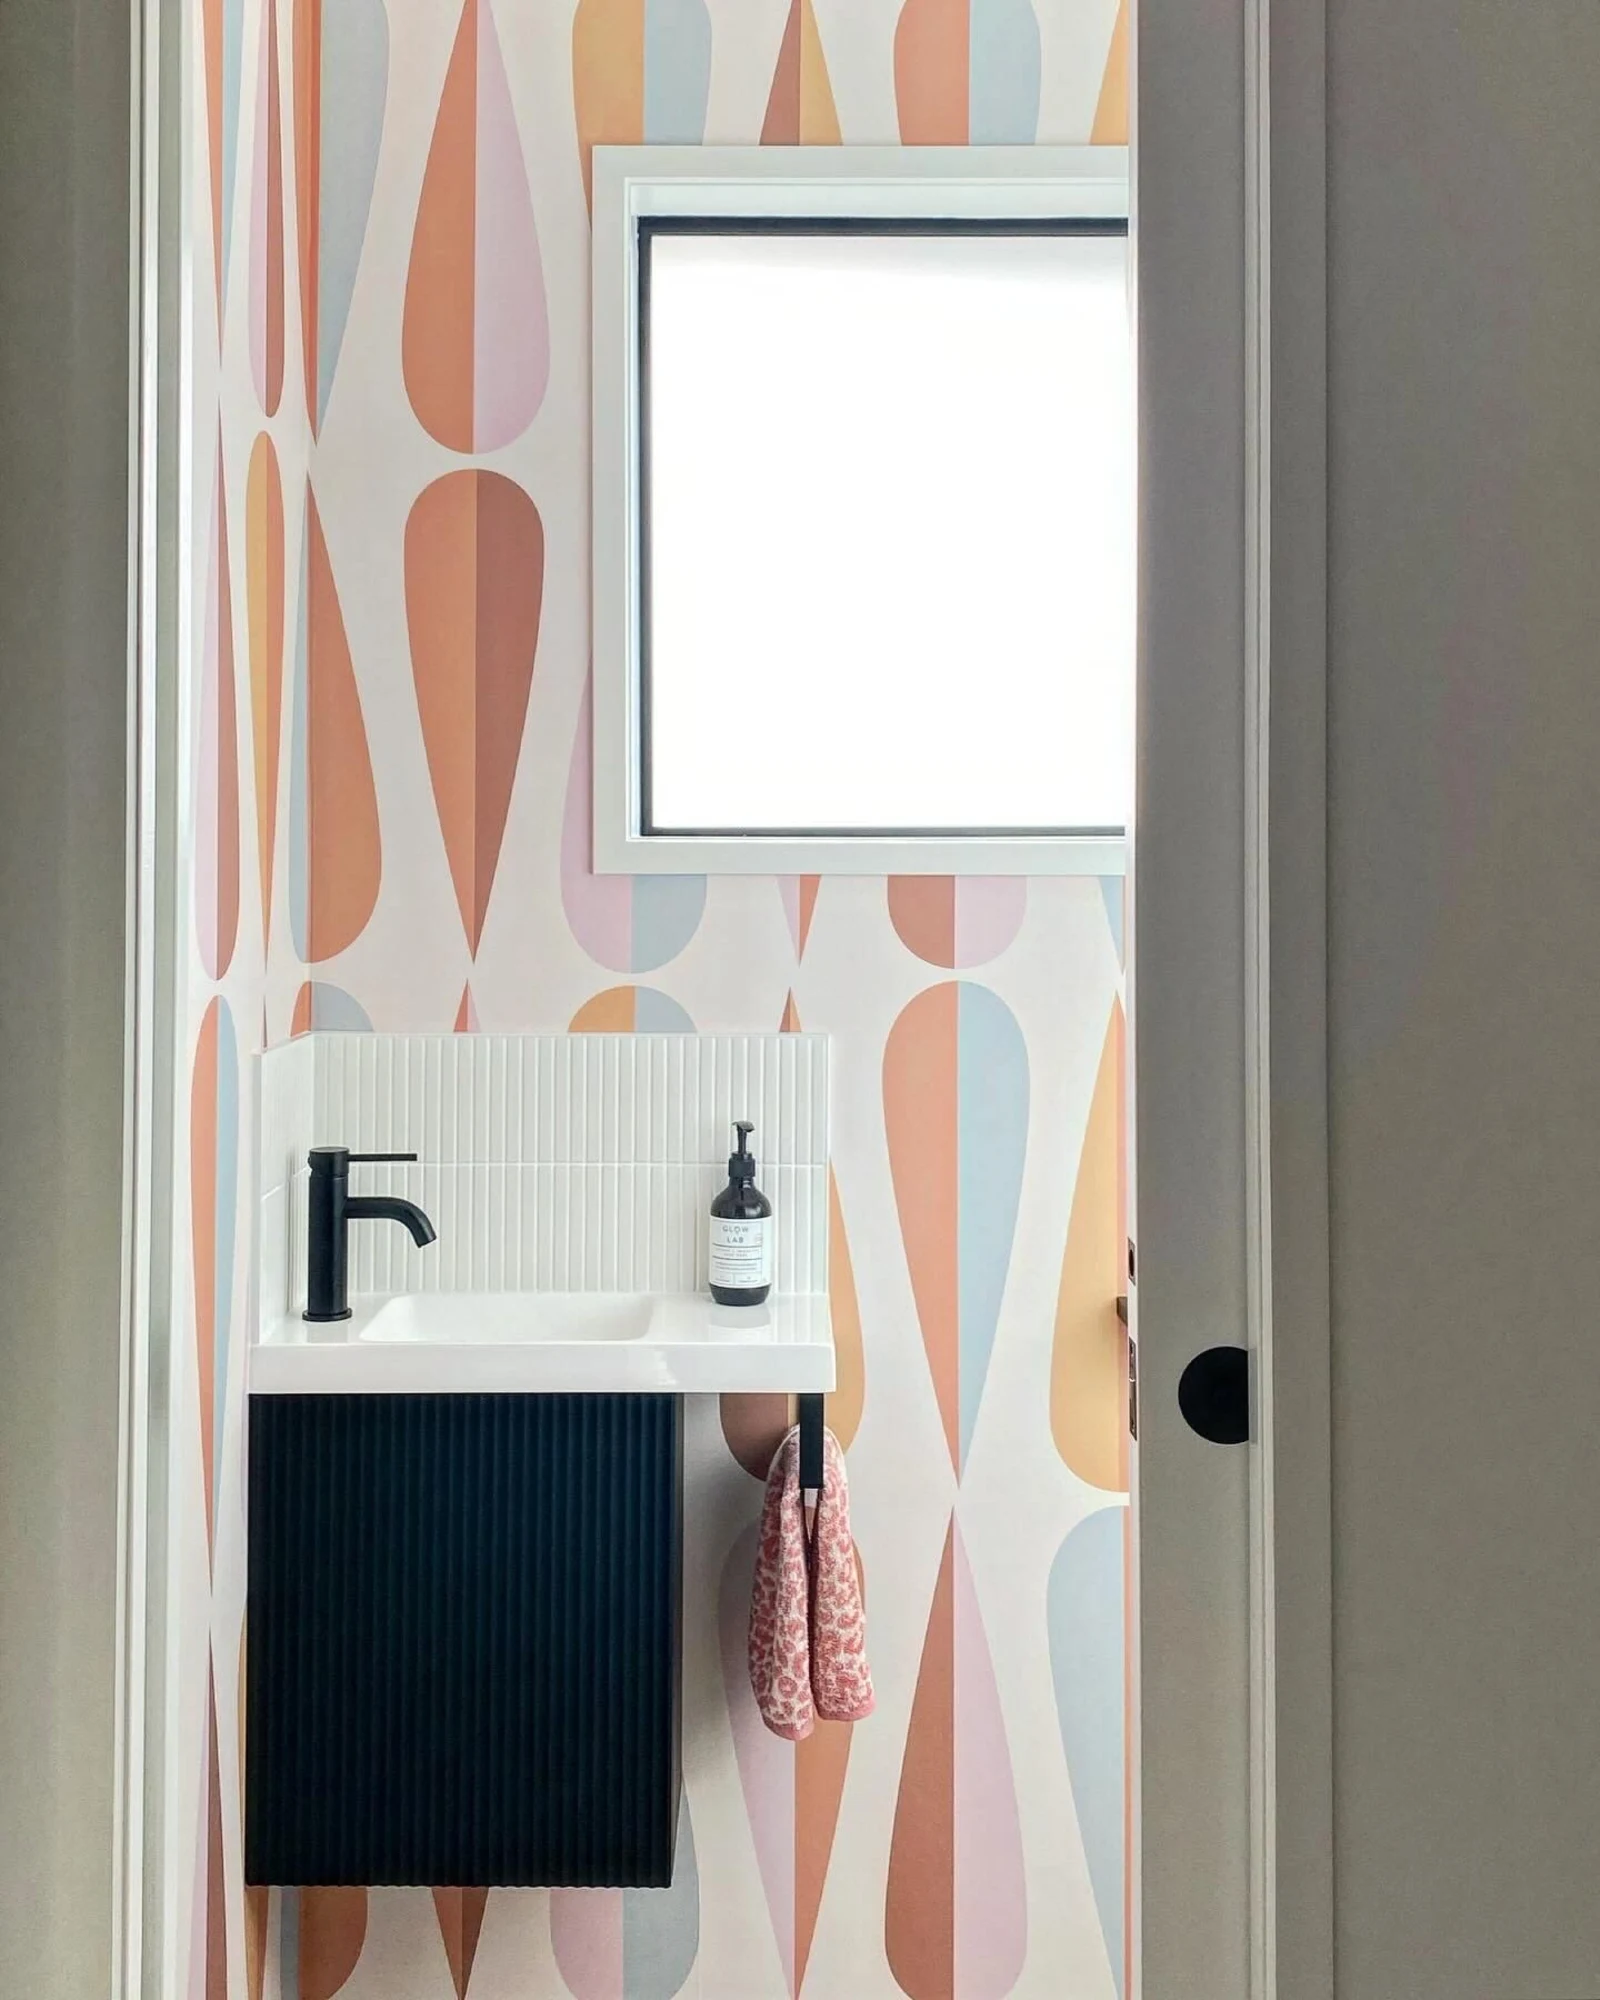
Image credit - home_candy_interiors
Before you start: consider the type of wallpaper you’re using
Where any wallpaper hanging guide is concerned, we always tell you to consider the type of wallpaper you want to use carefully first as this will influence how it will be installed.
Peel-and-stick wallpaper, for instance, already has adhesive applied to the back so you won’t need to buy any wallpaper paste or any other paste-related items.
However, because paste-and-stick is self-adhesive, you don’t get the same wiggle room for adjustments that you do with the wet paste used to apply traditional wallpaper.
This kind of flexibility is often your best friend when it comes to papering tricky areas like corners, sockets, and light fixtures, especially as a first-timer.
Some things to keep in mind when wallpapering corners
• If you choose a patterned wallpaper, you might need to double cut it — we’ll cover double cutting further on, don’t worry.
• A thicker wallpaper will need more overlap than thinner wallpaper.
• Remember that inner corners are rarely totally straight so you’ll need to factor a little extra into your wallpaper measurements if you have corners to navigate.
• Check out our wide selection of wallpapers and wall murals to find the perfect one for you.
Everything you need to wallpaper corners
Here are the essentials you’re going to need to wallpaper internal and external corners like a pro:
• Your wallpaper (top tip: order around 10% more than you need)
• Wallpaper paste, paste brush/roller, paste bucket (unless you’re using peel-and-stick paper)
• Pasting table/trestle table
• Drop sheets to protect the floor and furniture
• Sharp knife (e.g. Stanley knife or something similar)
• Pencil
• Tape measure/ruler
• Straight edge/metal ruler
• Wallpaper smoother
• A damp cleaning cloth
Make sure you’ve got all of these items to hand before you get started. Ready and raring to go? Skip straight to our simple step-by-step guide below.
Step-by-step: Wallpapering in and around corners
Follow these easy steps on how to wallpaper corners and you can’t go far wrong.
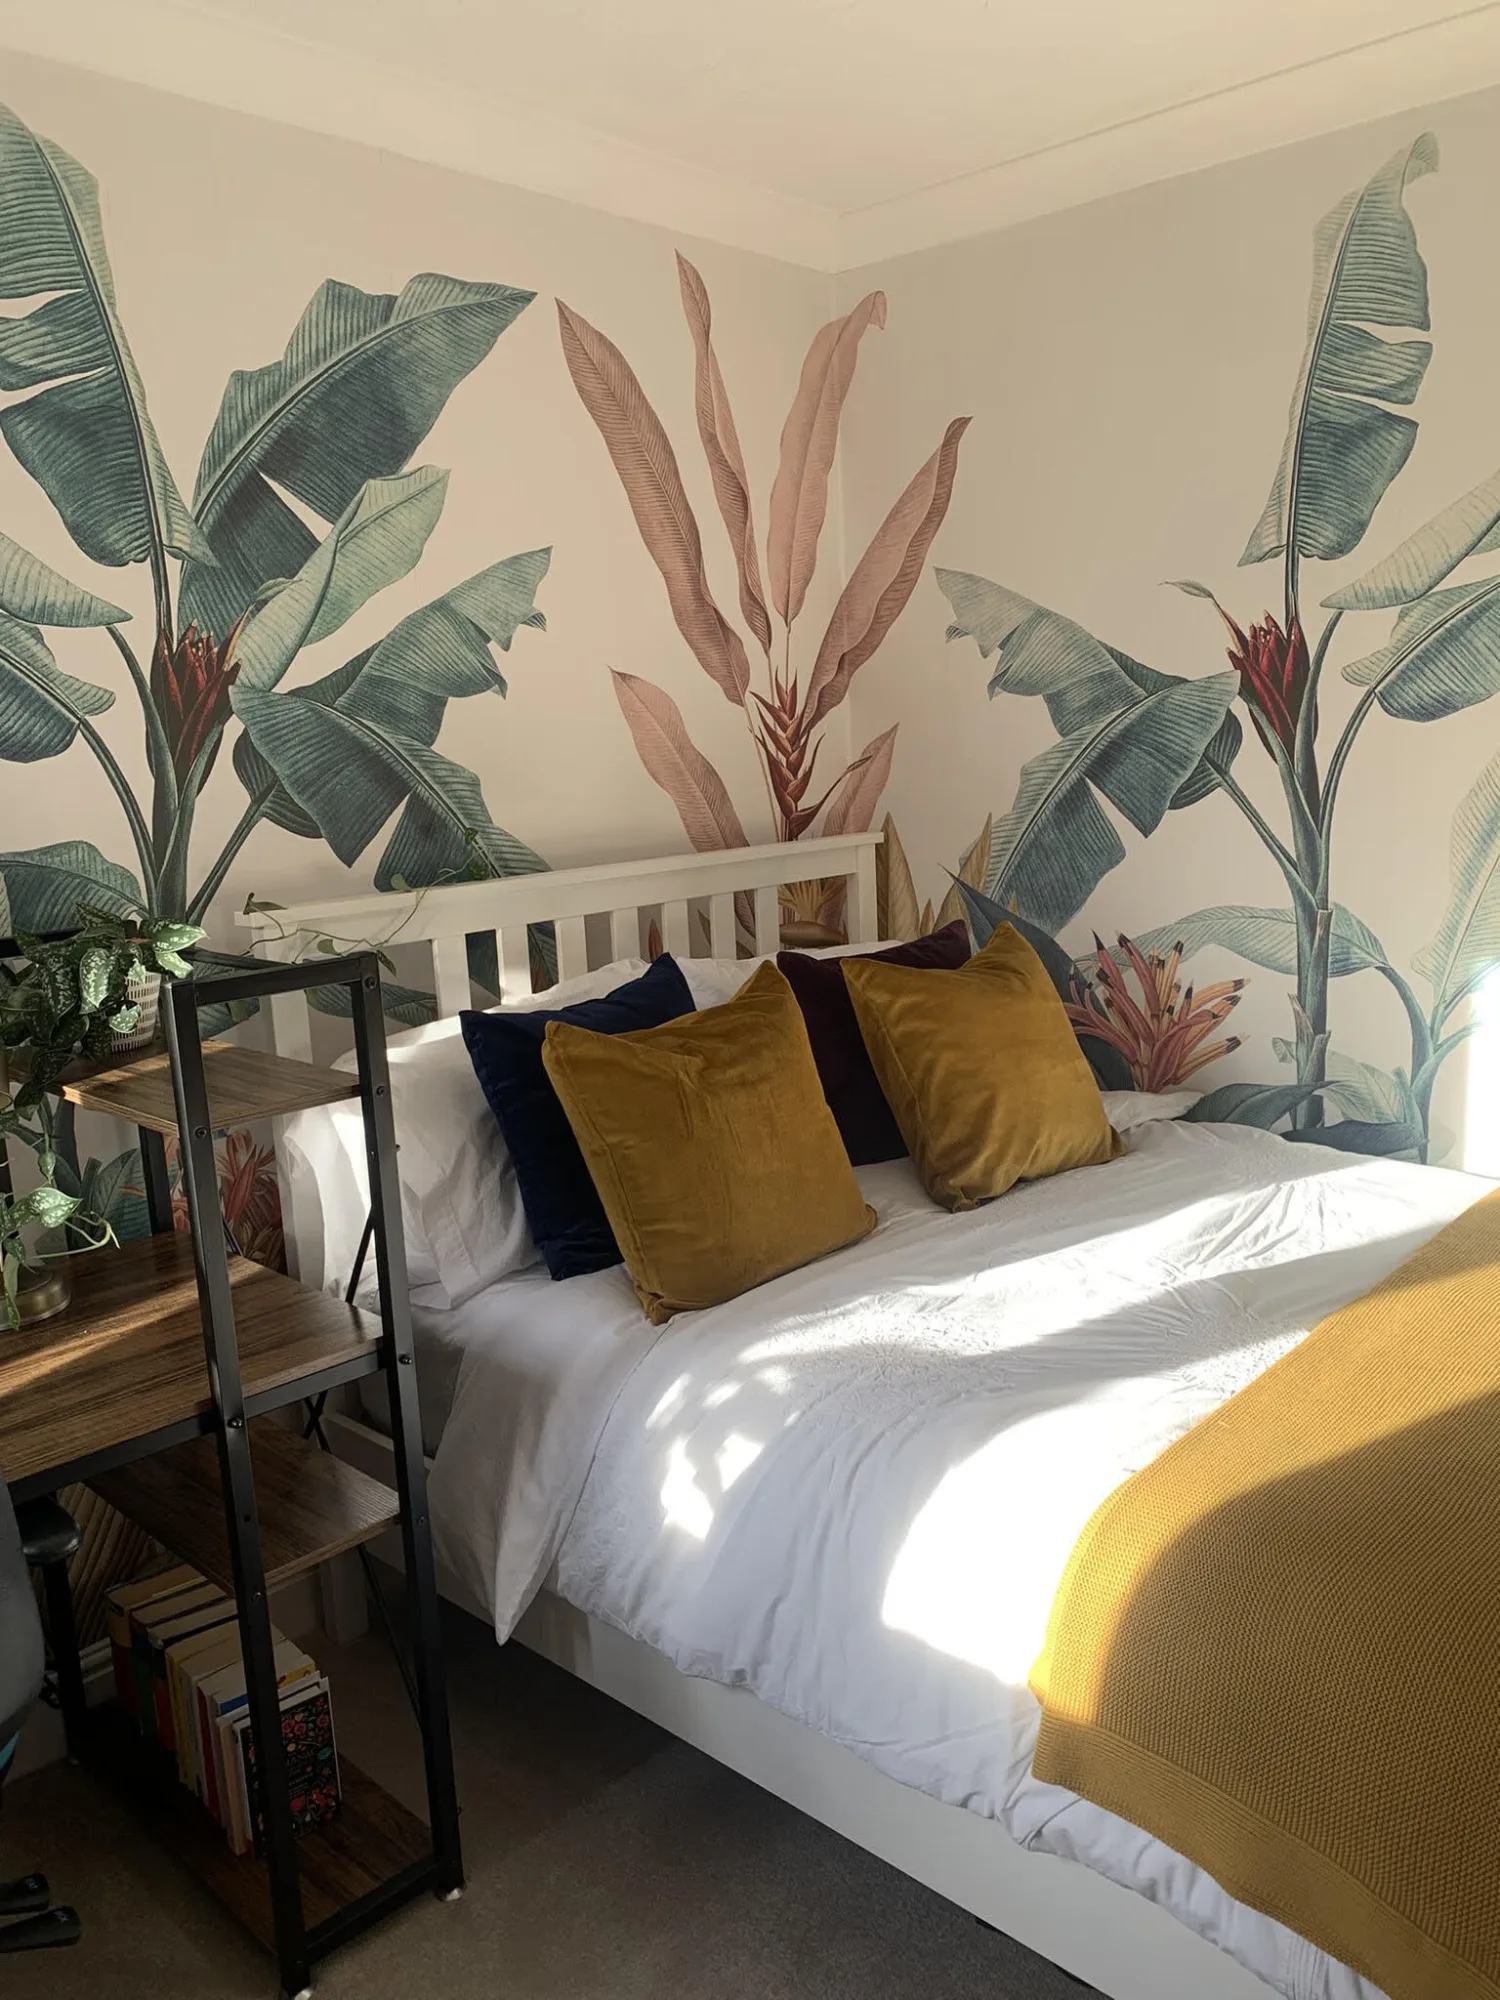
Image credit - cherry_at_home
Preparation is key
Before you even unwrap your wallpaper, the first thing you need to do is prep the surface it’s being adhered to thoroughly:
1. Fill any gaps, cracks, or chips.
2. Make sure any repairs you’ve done are sanded down smoothly.
3. Clean away any dust or debris with a clean, damp cloth.
How to wallpaper an internal corner
1. Take a full width of wallpaper and paste it onto the strip of wall that meets an adjoining wall.
2. Smooth it snugly into place, using your wallpaper smoother to release any air bubbles or wrinkles as you go.
3. Push your straight edge or metal ruler right into the corner and then use your sharp knife to cut along the straight edge so that the paper is trimmed to fit the corner perfectly.
Top tip: Cut downwards so as not to scuff the edges of the paper.
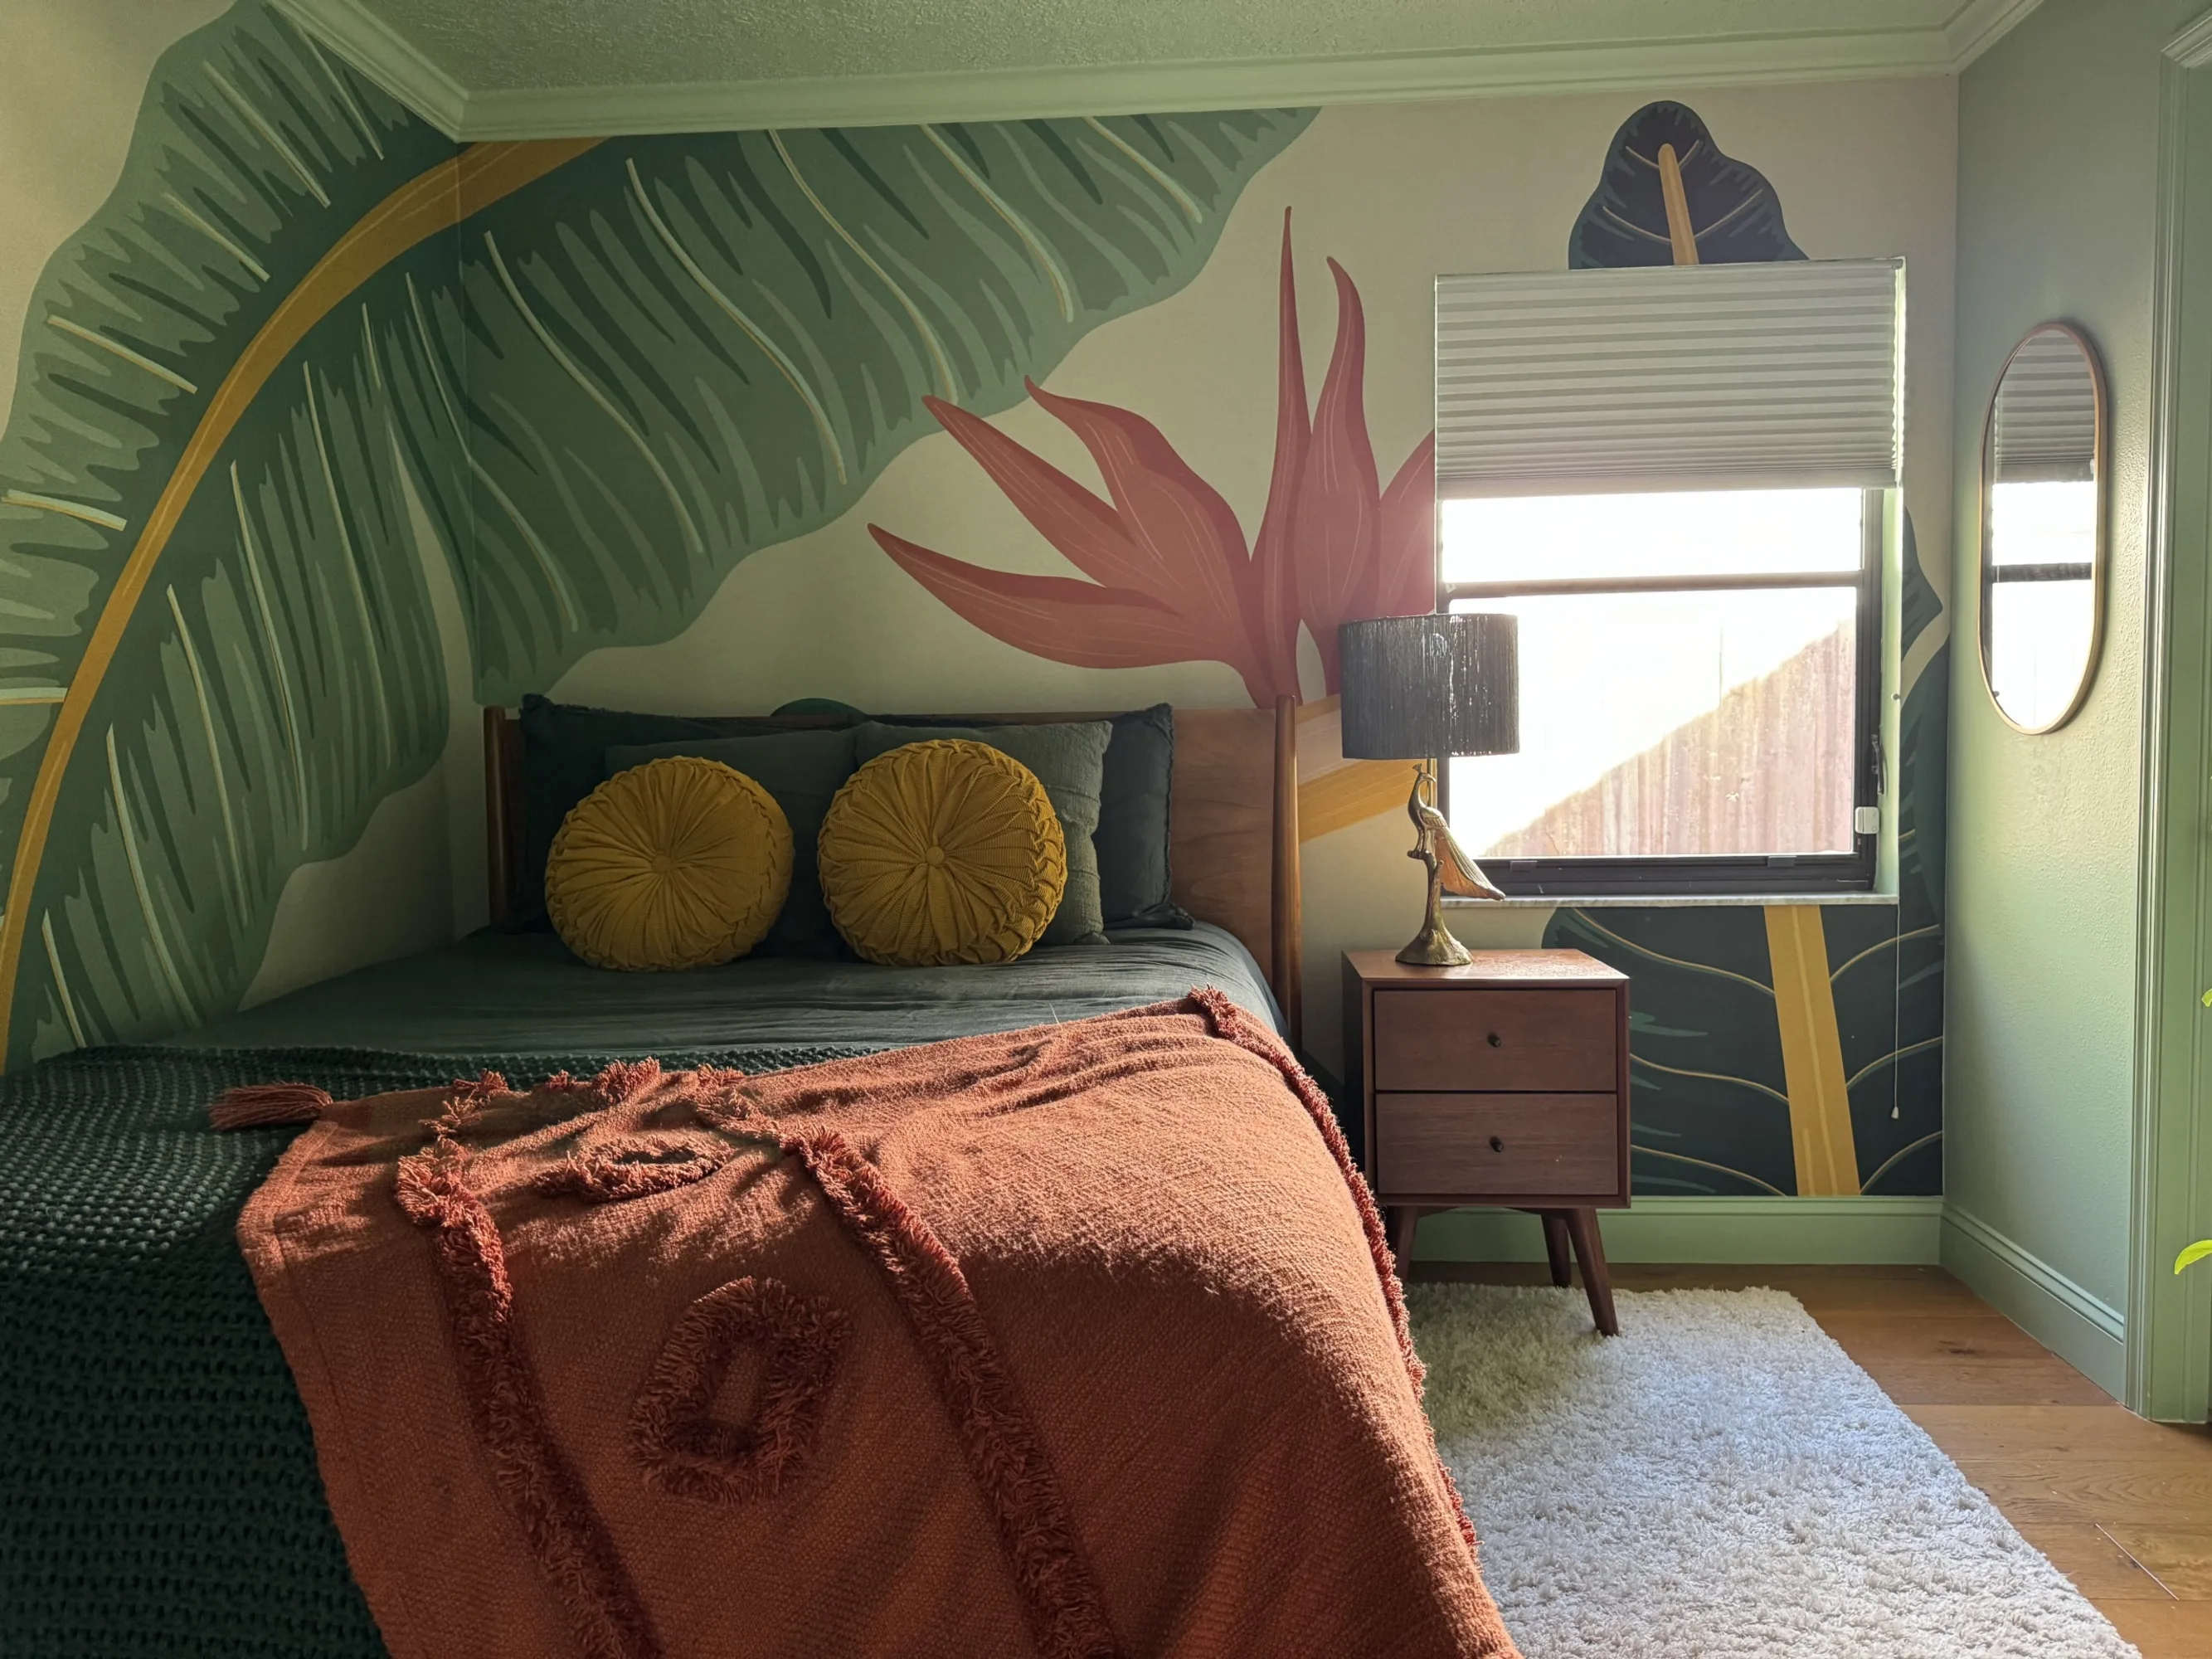
Image credit - mycolorfulfloridise
How to wallpaper an external corner
1. Ensure the strip of paper is well adhered to the wall and smoothed out with your wallpaper smoother, right up to the edge of the wall.
2. Press your sharp knife right up the edge of the wall, where the corner is and carefully cut the overhanging paper away in a downward sawing motion.
3. Remove any other straggling bits with the same knife if there are any.
Whether you’re wallpapering an internal or external corner, you might need to do a spot of double cutting. Keep reading to find out what this is and how to do it like the experts.
Double cutting
Double cutting typically comes into play when you have two pieces of patterned or printed wallpaper being hung next to each other.
It is a technique designed to ensure that the two seams join together precisely to create a flawless flow in the pattern or print so that the join is as undetectable as possible.
How to double cut
1. Hang your first strip of wallpaper and then hang the next strip adjacent with an overlap.
2. Overlap until you get to a point where the pattern aligns precisely and then press the top piece down into place.
3. Cut the paper down the middle of the overlap using a sharp knife and a solid, straight edge.
4. Slice down with your knife, applying enough pressure to cut through both pieces of paper.
5. Keep your knife pressed into place while you move the straight edge away to make it easier to continue the double cut.
6. Remove the small strip of paper from underneath the top piece.
7. Use a wallpaper smoother and/or seam roller to make sure both edges sit flat and flush.
Quick and easy tips for a pro-level finish
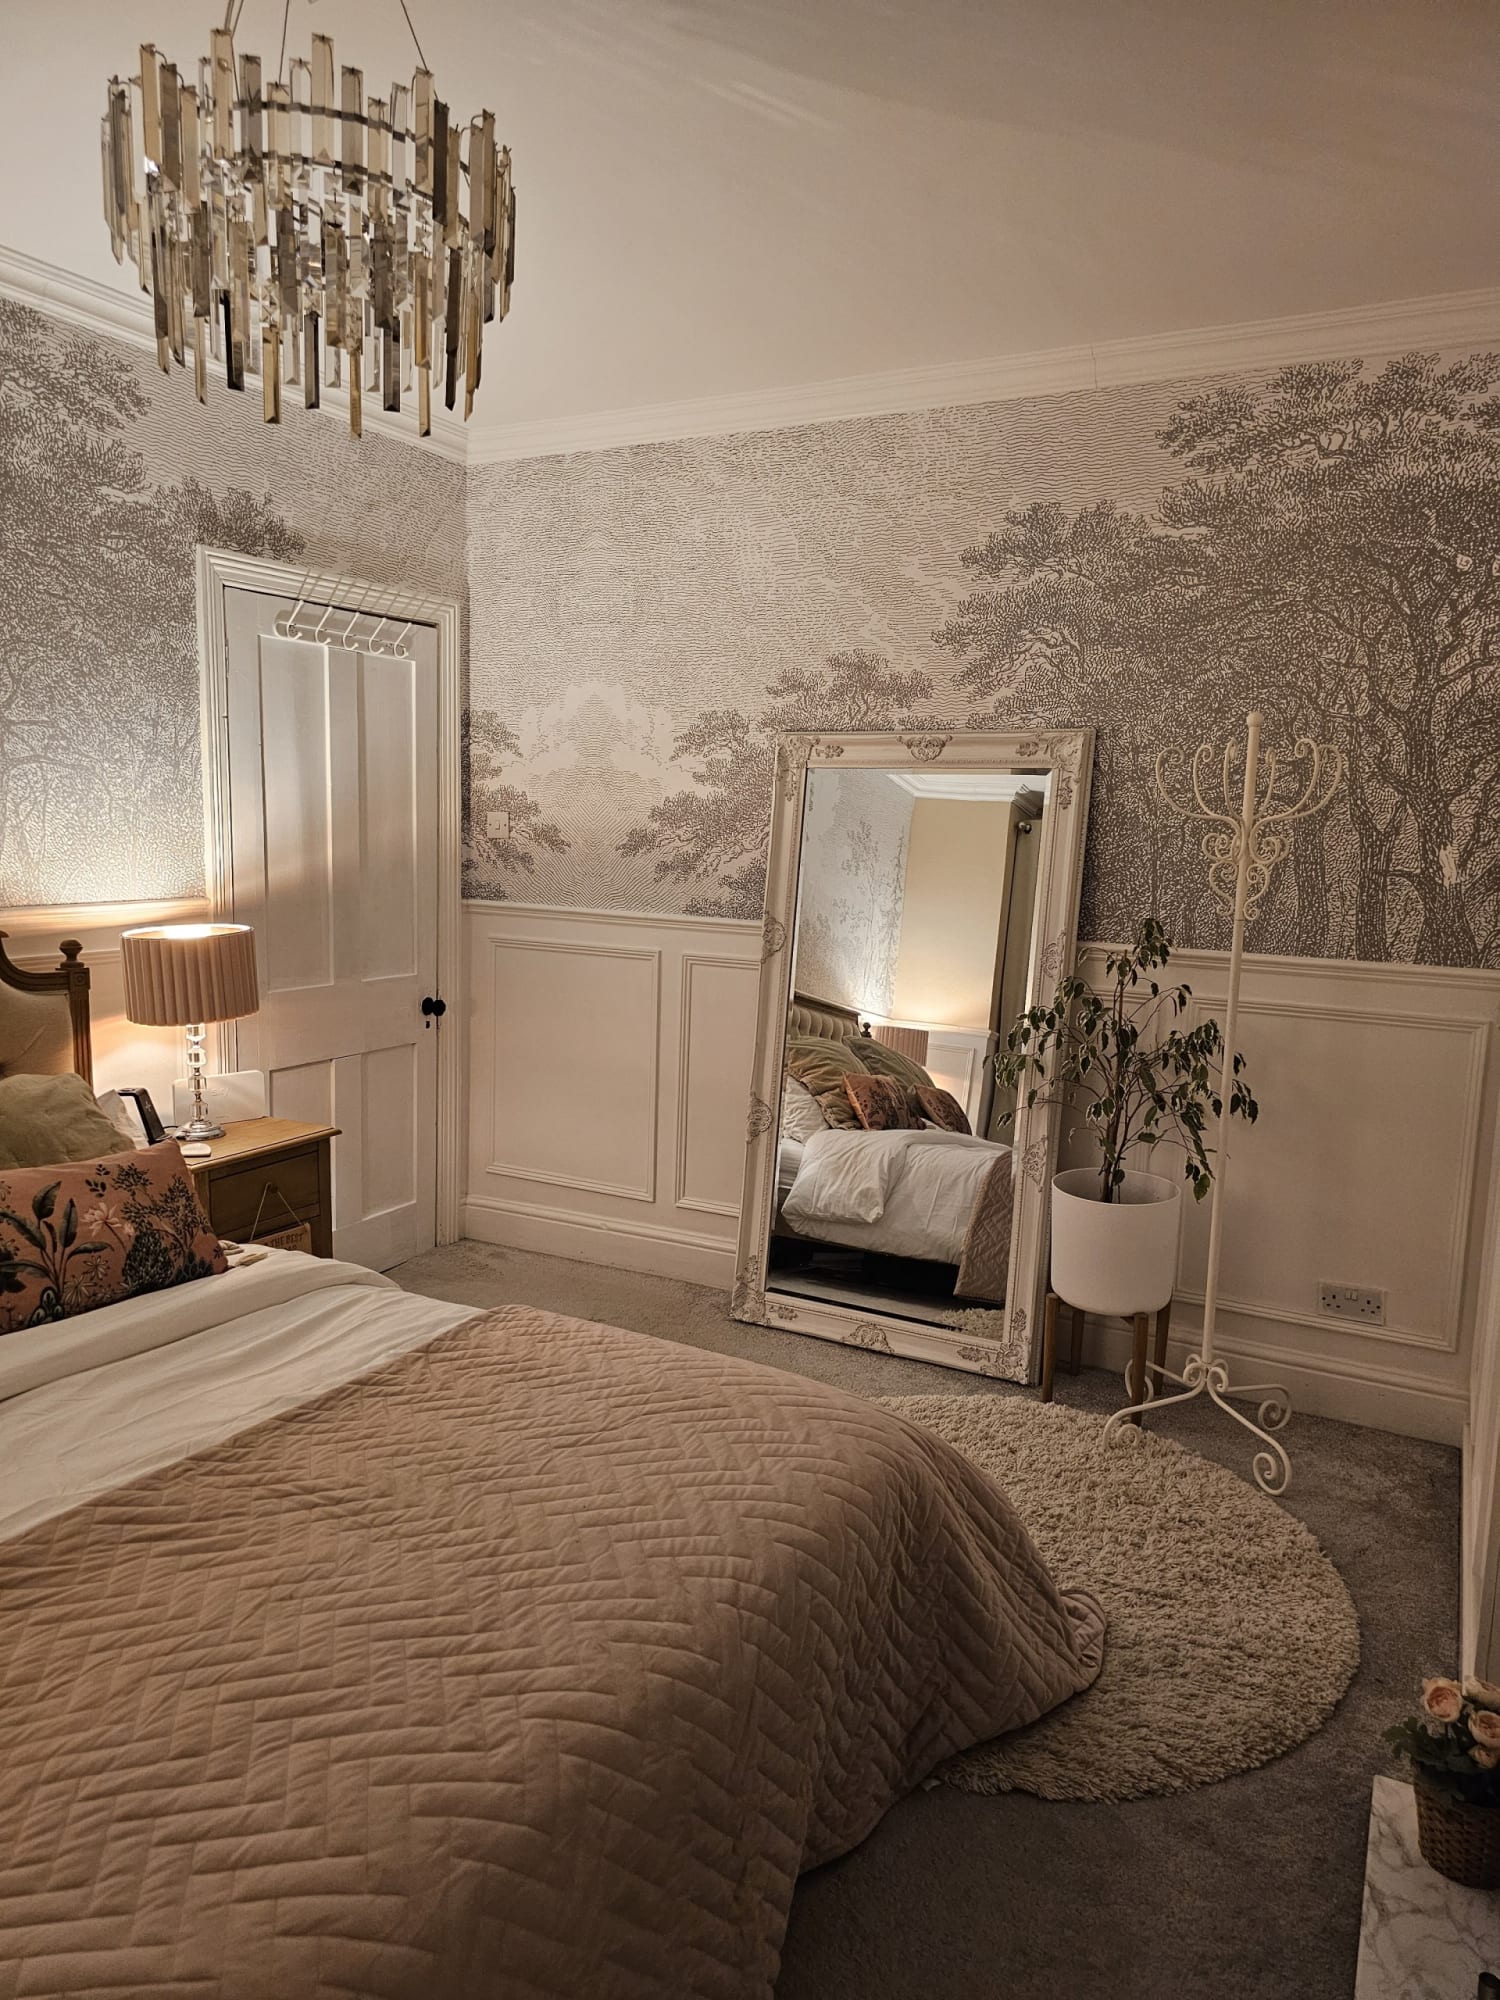
Image credit - thehawkes_victorianrenovation
Before you go, here are some tips and tricks on how to achieve that polished, professional finish you see on social media and in glossy home decor magazines:
• Use a seam roller to make sure all joins and overlaps are seamlessly secured in place. This will also make sure any patterns align perfectly.
• Use a plumb line to ensure every strip of wallpaper is hung as straight as possible.
• If you see any air bubbles, cut a small slice in the side of the blister, press the air out, and then secure the paper back down with a tiny bit of paste. Make sure to wipe away any excess with a clean, damp cloth.
• Wallpaper away from the natural light source to make sure any overlaps are neat and tidy.
• Enlist an extra pair of hands (or two) to help so you can be more meticulous and thorough.
• Take your time — rushing only leads to mistakes.
Once you’re done, don’t forget to share your wallpapering creation with us on Instagram using #hoviahome!
Sign up for our newsletter below to receive more expert DIY tips and tricks.