How to Wallpaper Around a Door
Getting the hang of how to hang wallpaper isn’t easy, especially if it’s your first time taking on the challenge of wallpapering around a window or door.
There are a whole host of obstacles along the way that can be tricky to navigate, which is why we’re on hand here to make life a whole lot easier for you.
In this blog post, we share our simple guide on how to hang wallpaper around a door like a total pro.
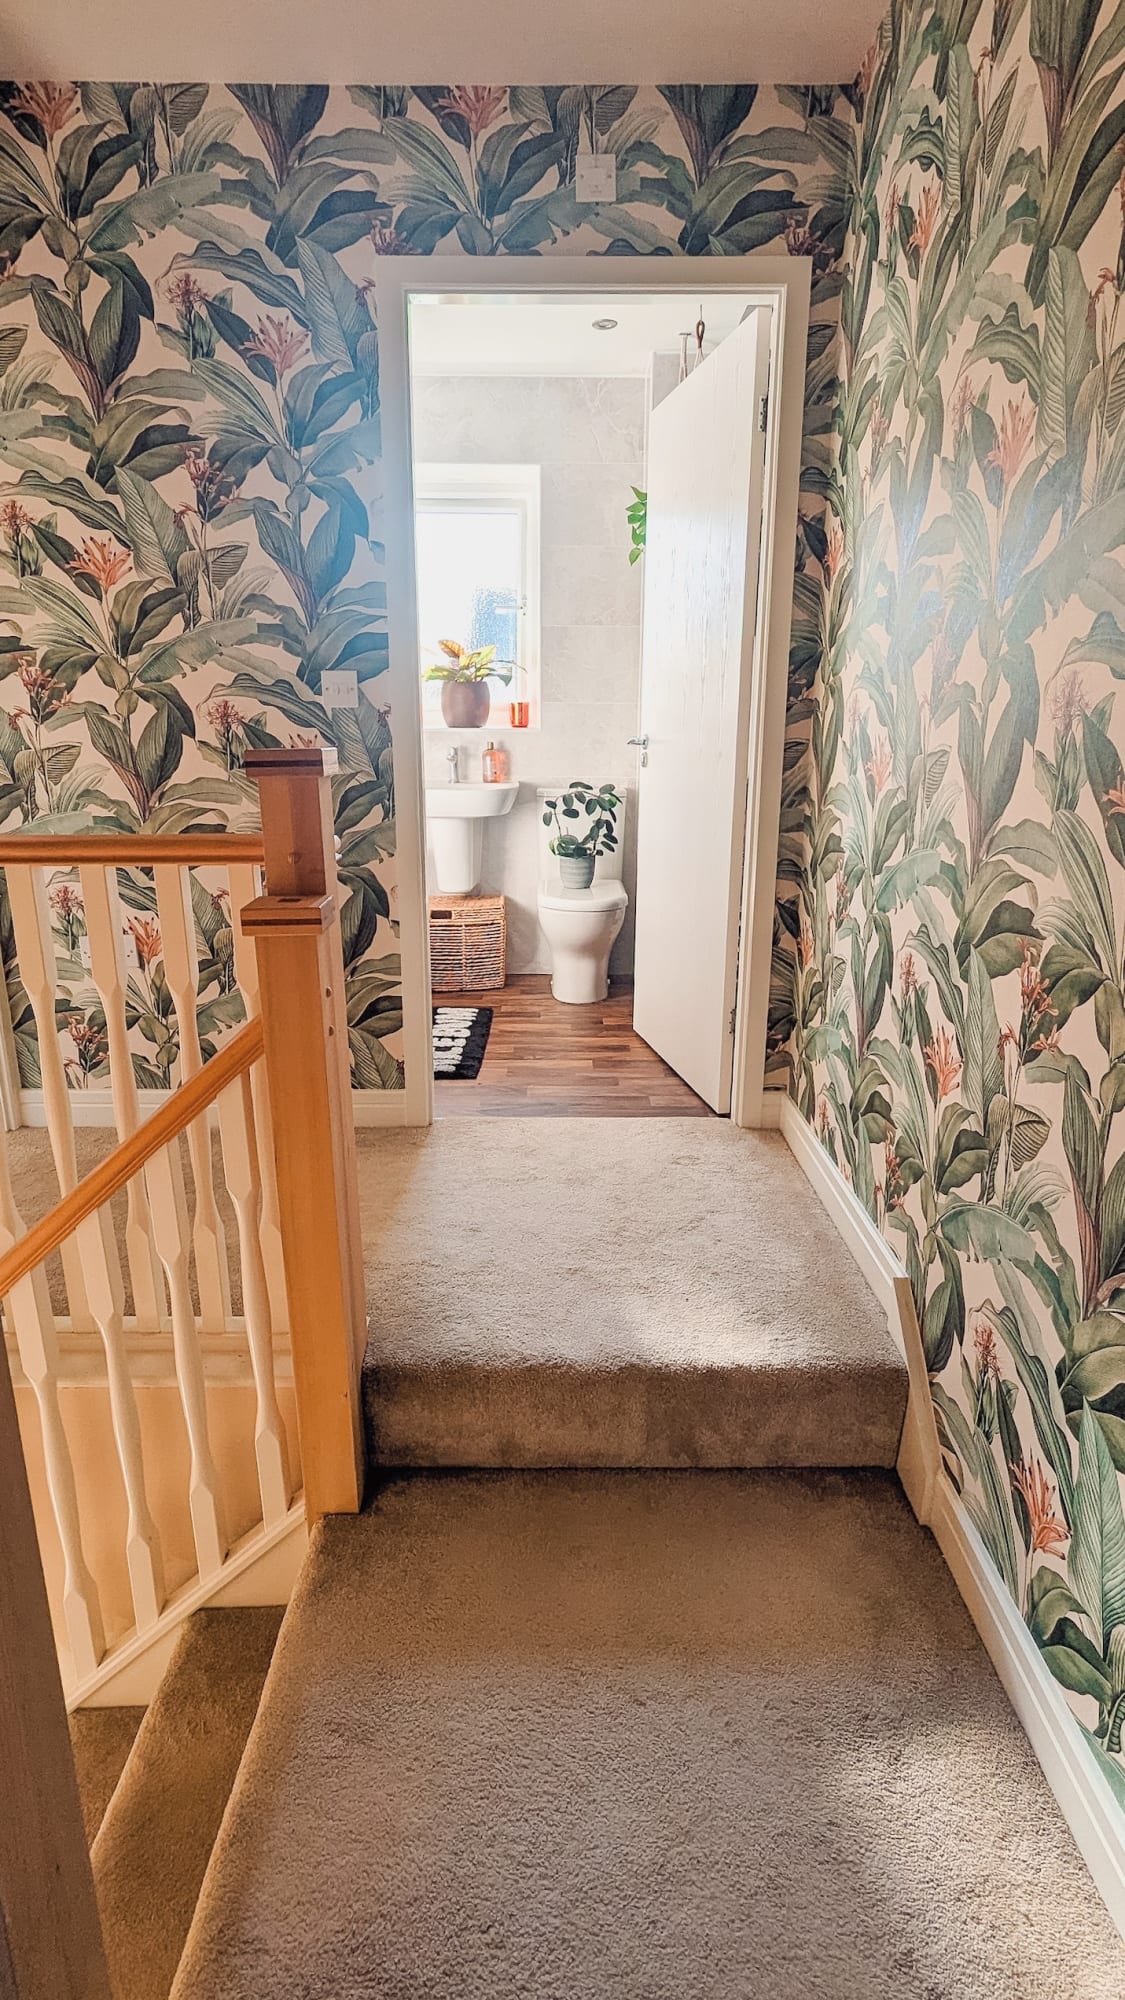
Image credit - @My_littlewood_home
All the tools and essentials you’re going to need
Before you do anything, make sure you’ve got everything on this list to hand. All of these things are going to ensure you get that polished, professional finish you’re looking for.
Your chosen wallpaper (with a little extra spare, just in case - we recommend 15-25% more than what your measurements say you’ll need)
Wallpaper paste
Dust sheets to protect the floor and furniture
A sharp craft knife
Paste brush and/or roller
Paste bucket
Ladder
Plumb line
Tape measure
Pencil
Wallpaper smoother
A damp cleaning cloth
Seam roller (optional)
FYI: If you’ve gone for peel-and-stick wallpaper, you won’t need any wallpaper paste or a paste brush/roller as this can simply be applied to the wall with self-adhesive.
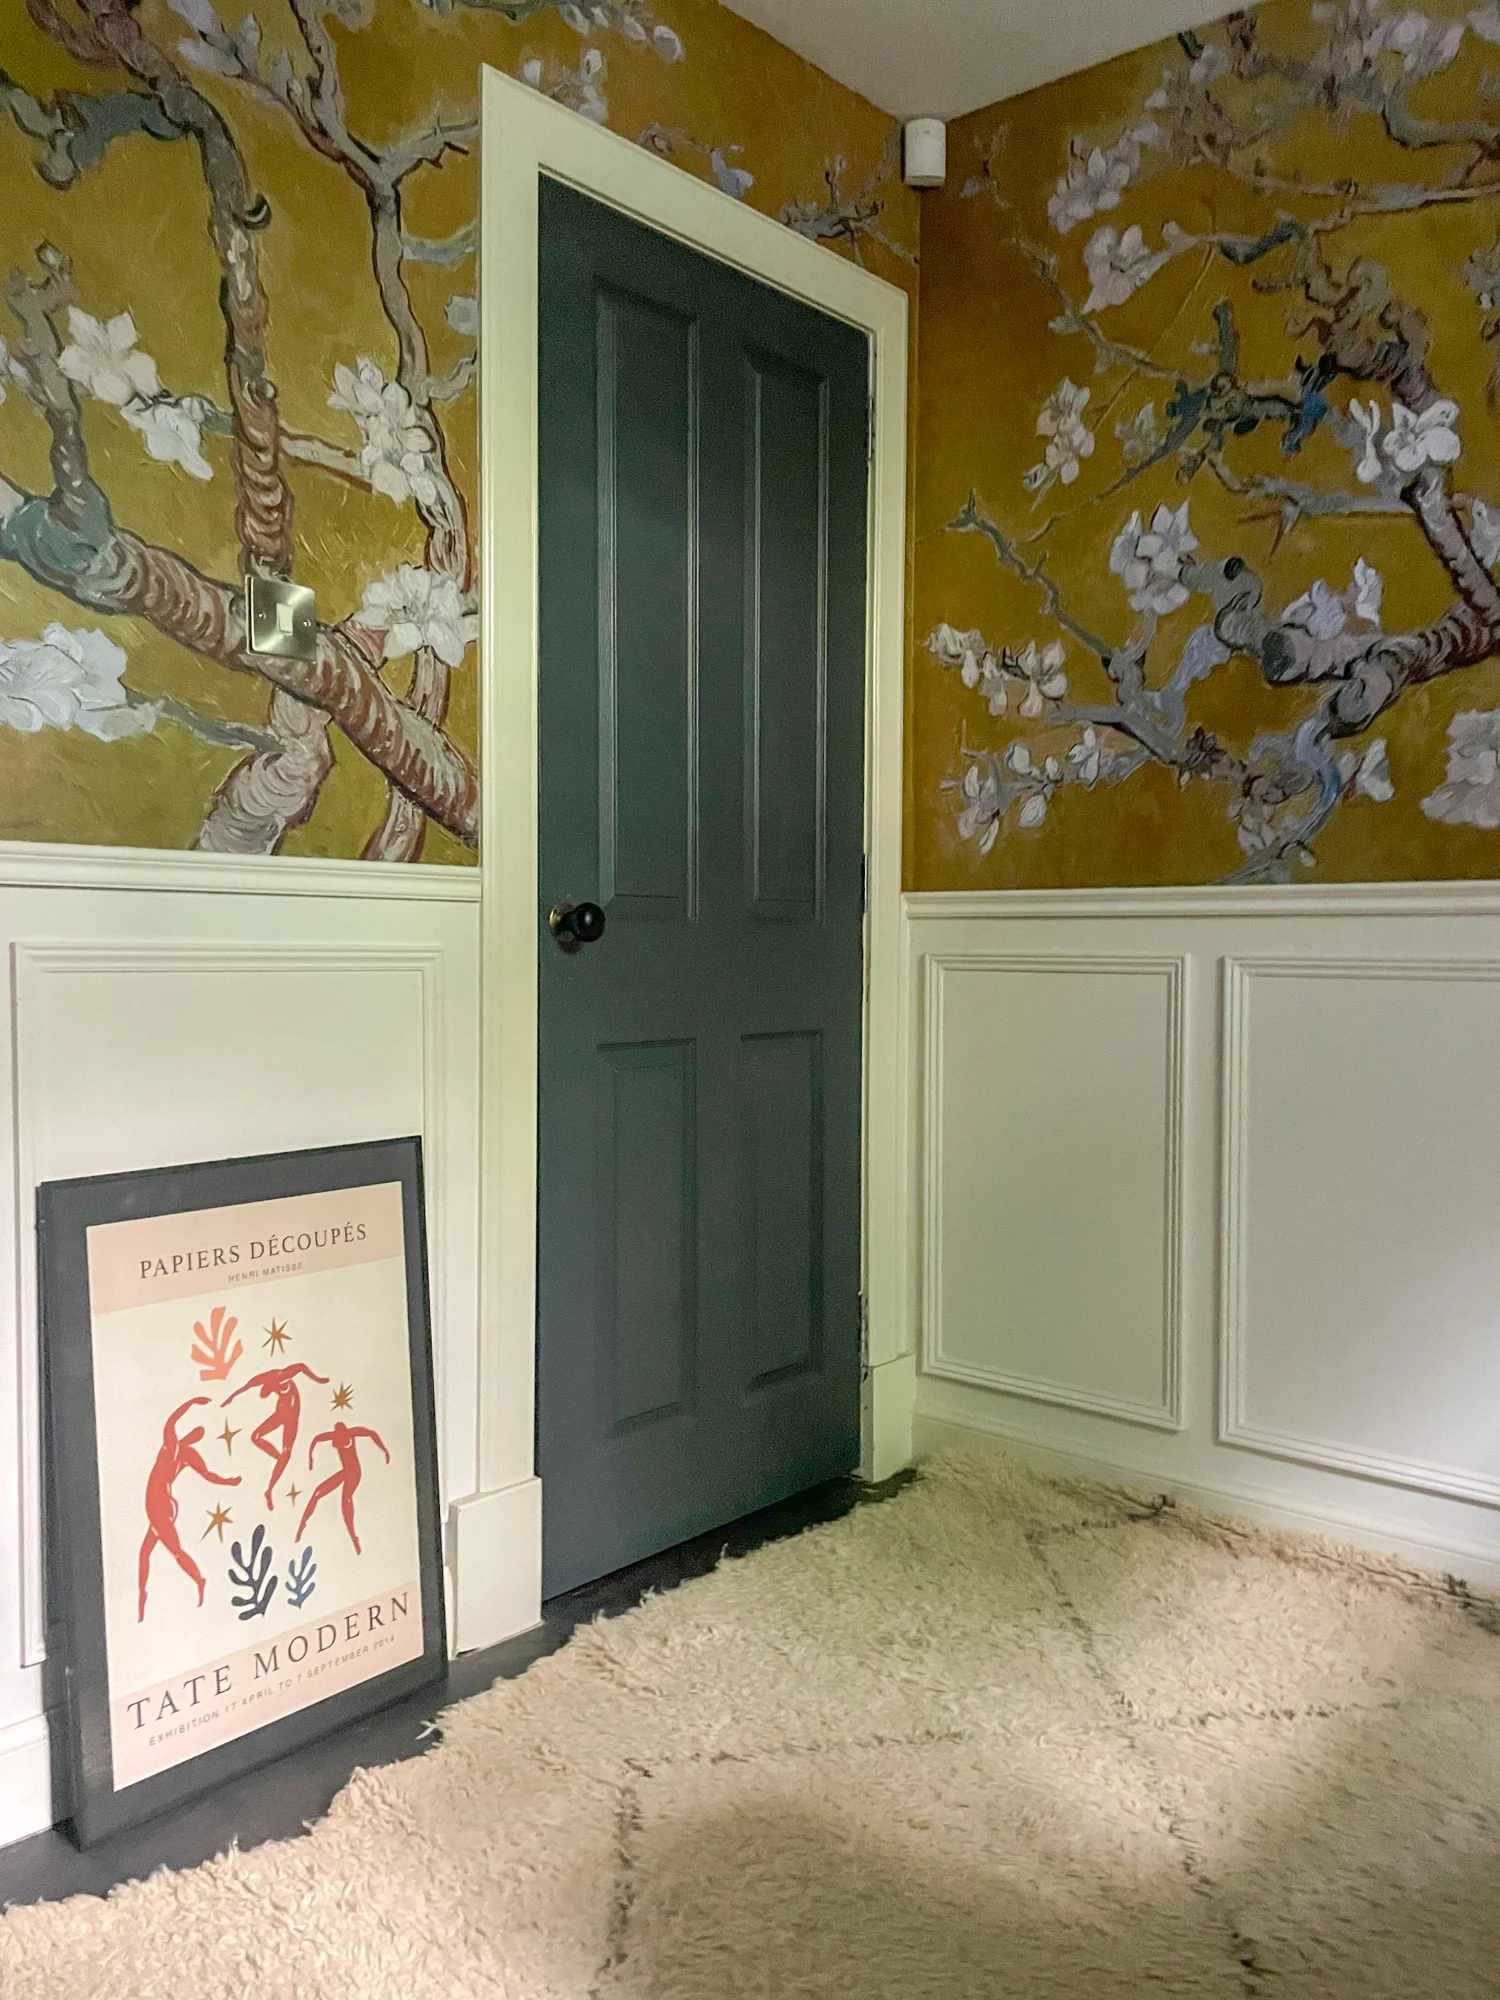
Image credit - @thelinentownhouse
Step-by-step: how to hang wallpaper around a door
Follow these six easy steps to make wallpapering around a doorframe a total breeze.
1. Clean around your doorframe
Before you start, remove any dust or debris from around your door so it doesn’t create blemishes underneath your wallpaper.
2. Apply your paste to the wall or paper
Apply your paste to the back of your wallpaper strip or directly onto the wall (according to manufacturer instructions), going wider than you need for a secure overlap.
3. Align the print and hang your first drop
Using a plumb line, hang your first drop ensuring it is hanging straight. Continue by lining your strip of wallpaper up with the previous piece, using the plumb line to ensure it’s hanging straight and aligns with the pattern on the adjacent strip.
4. Fold and cut around the doorframe
Once the full length of paper is in place, use your finger to push it flush around the door frame. You can then use your sharp knife to trim away the excess. Continue this process all the way around the door.
Alternatively, you can cut and measure your paper before applying it to the wall, making sure to leave a slight overhang to fold in neatly against the door trim.
5. Smooth and clean off any paste residue
Smooth your paper as you go with a wallpaper smoother or steam roller to remove any bubbles or wrinkles.
Once you’re done, make sure to wipe away any residual wallpaper paste with a clean, damp cloth so it doesn’t spoil the overall finish.
6. Share your project with us on social media using #hoviahome
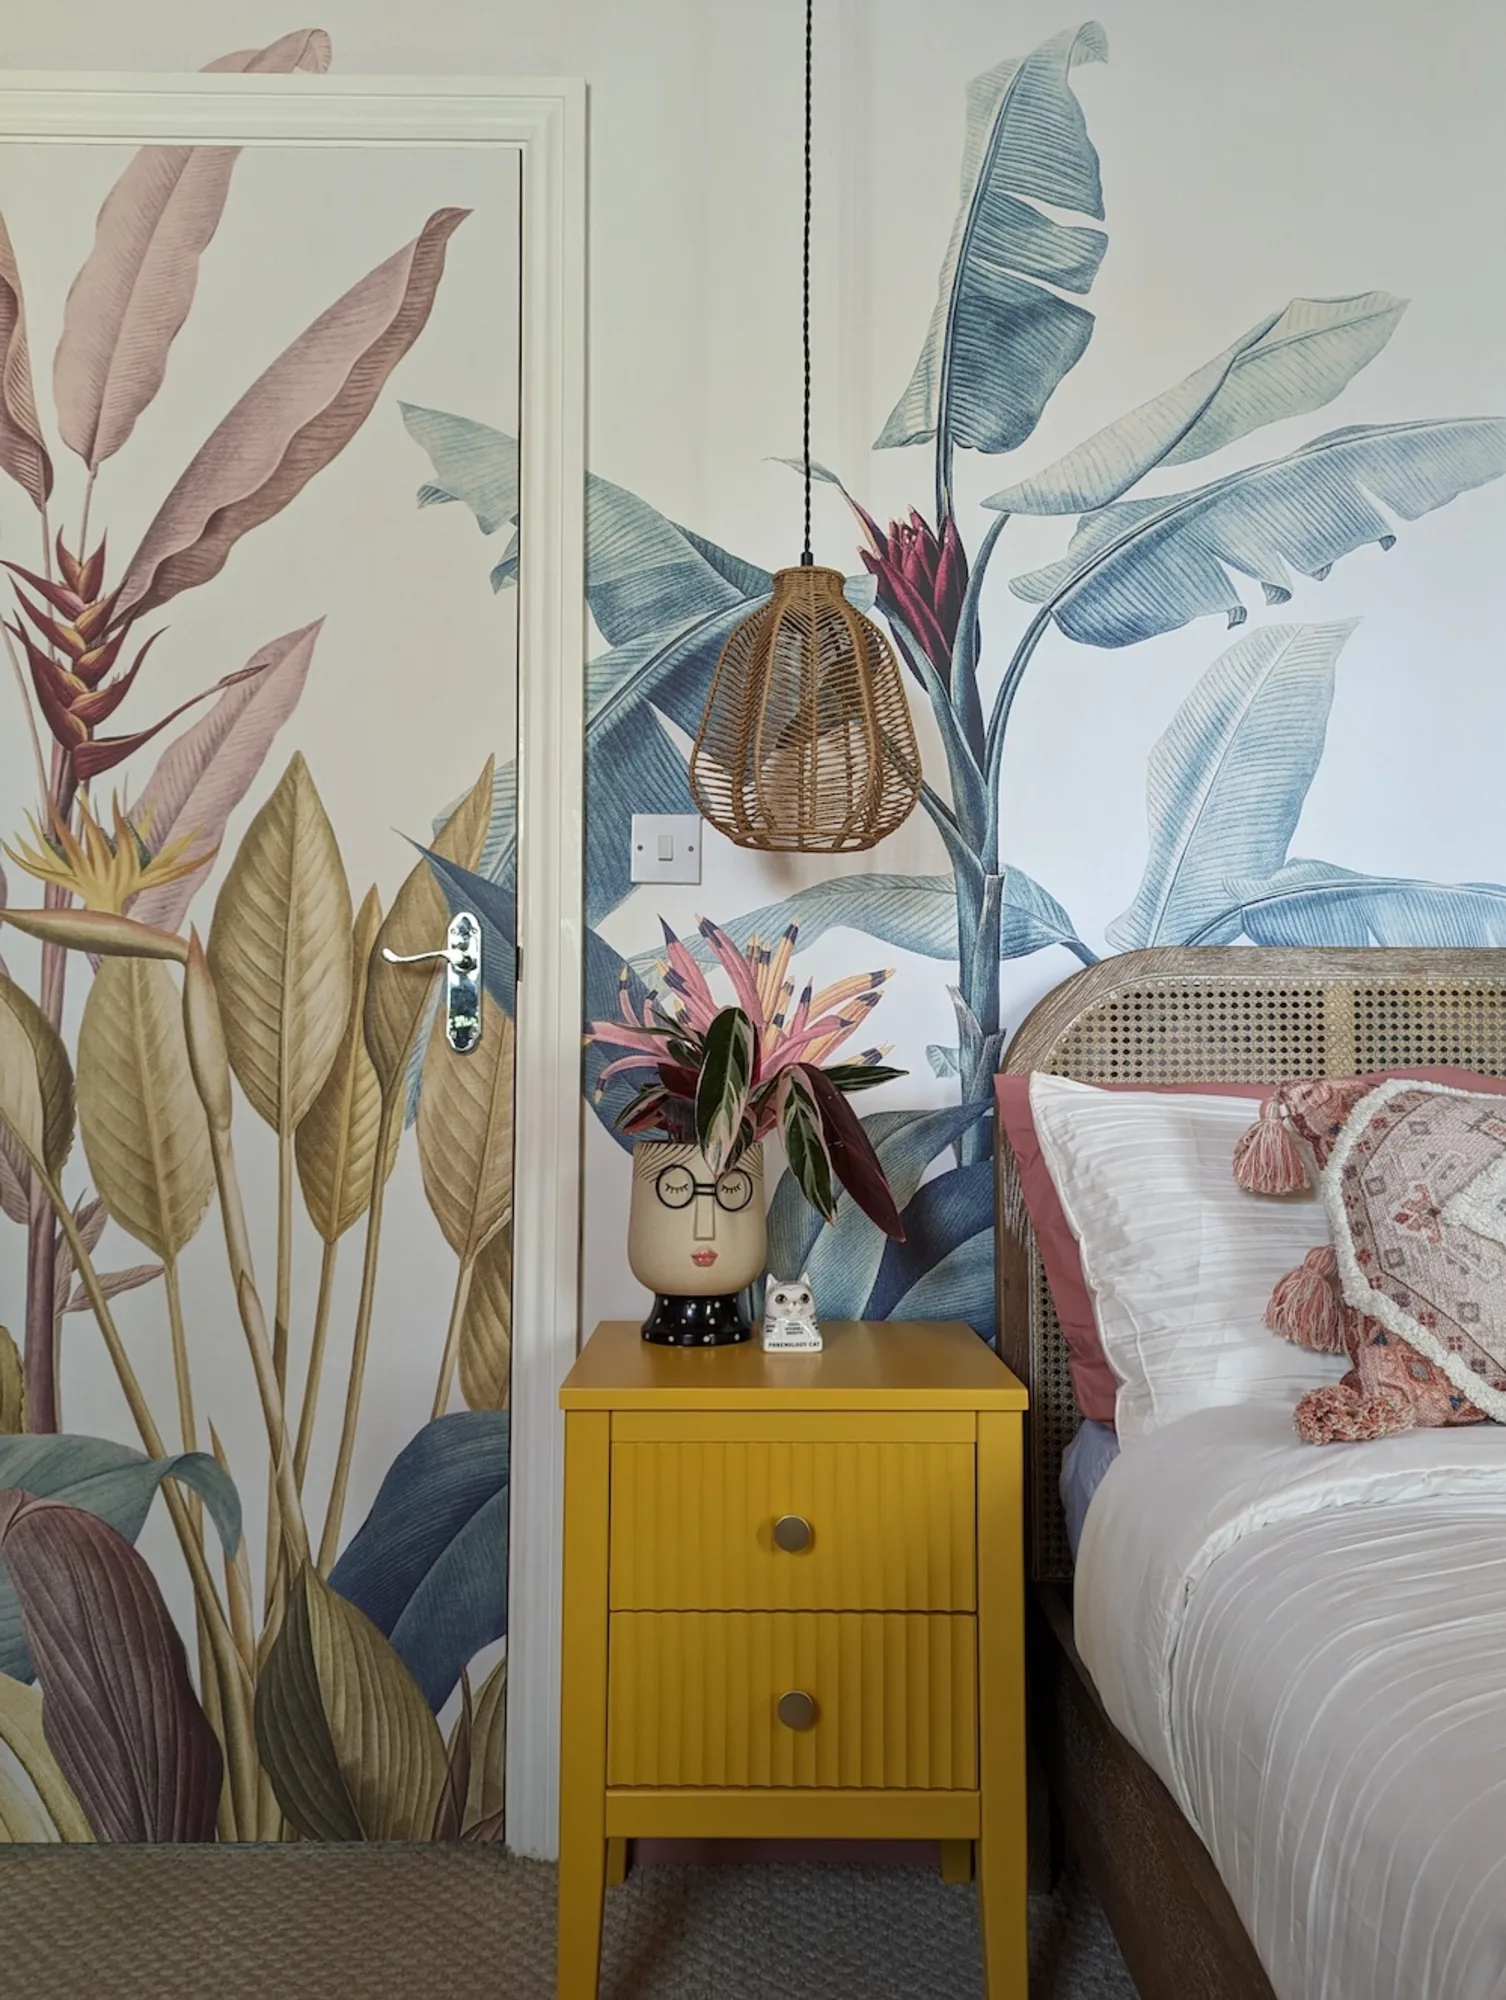
Image credit - @thatruralhome
Top tips for a professional finish
Here are some pearls of wisdom to help you avoid common pitfalls and achieve a pro-level result.
Prep your wall well
Whether you’re using traditional wallpaper or peel-and-stick paper, the key to perfection is a well-prepped wall.
If there are bumps, cracks, or residue from existing paper left on the wall, this will create an uneven surface and make getting a smooth, seamless finish pretty difficult.
Clean your wall first, fill in any gaps, and smooth over any lumps so you’ve got solid foundations to work with.
Check out our handy guide on how to remove wallpaper like a real aficionado.
Take measures to banish air bubbles
As well as prepping your wall for flawless foundations, here are some other ways you can avoid or remedy those pesky air bubbles and wrinkles:
Push out air bubbles before the paste dries with a wallpaper smoother or seam roller.
Take your time—rushing will only lead to errors and imperfections.
If an air bubble pops up, make a small slit at the side of the blister and gently press the air away. You can then stick the paper back down with a tiny bit of paste and clean away any excess with a damp cloth.
Choose a wallpaper brand you can trust
One of the biggest secrets to success when it comes to a professional finish is investing in good-quality wallpaper. There are cheaper options out there but the higher the quality of your wallpaper, the more polished the end result will be, we promise.
Explore our selection of traditional wallpaper and peel-and-stick murals to find the perfect product for you.
Sign up for our newsletter below for more DIY tips and tricks just like these to take your next home interior project up a notch.